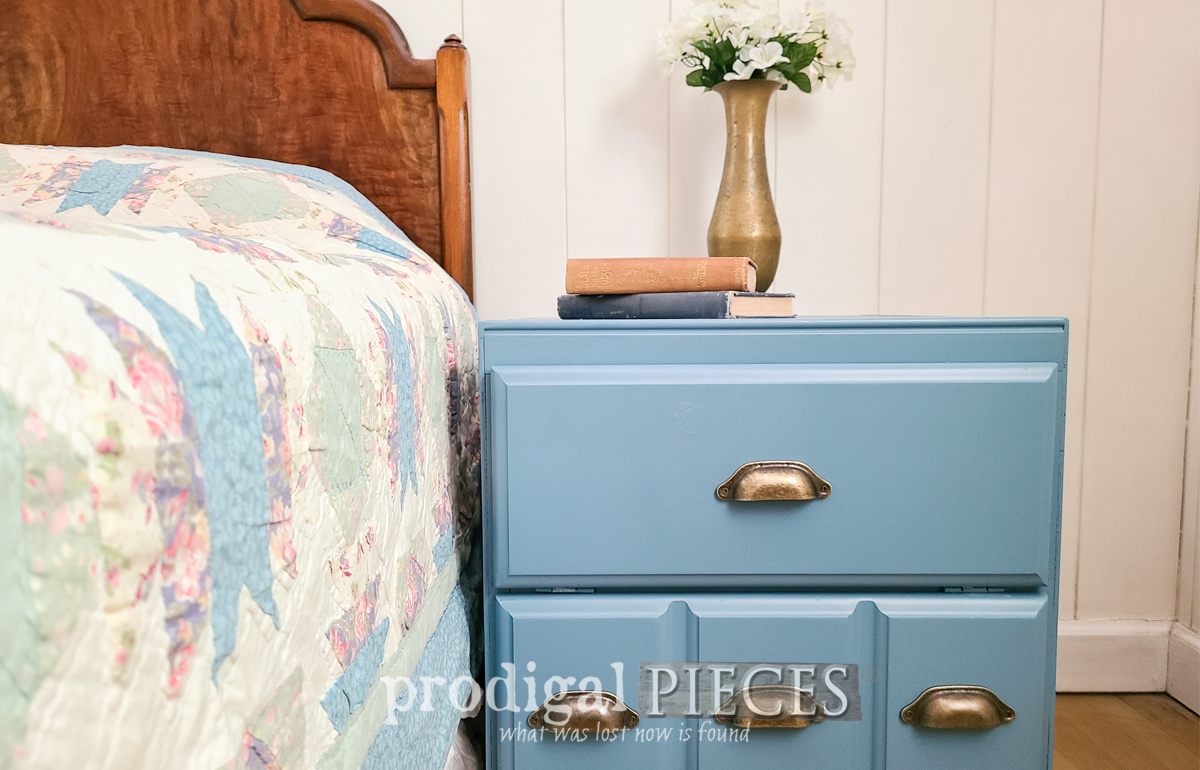
Vintage Side Table Cabinet Makeover
Learn how Prodigal Pieces transformed this mini side table cabinet using a HomeRight paint sprayer to create something brand new!
The saying goes, “the best things in life are free”. I agree with that, but it also needs to say, “…and can mean you have your work cut out for you”. haha. Check out this vintage side table cabinet I recently inherited. It’s destined for a makeover that will change it completely.
STEP 1
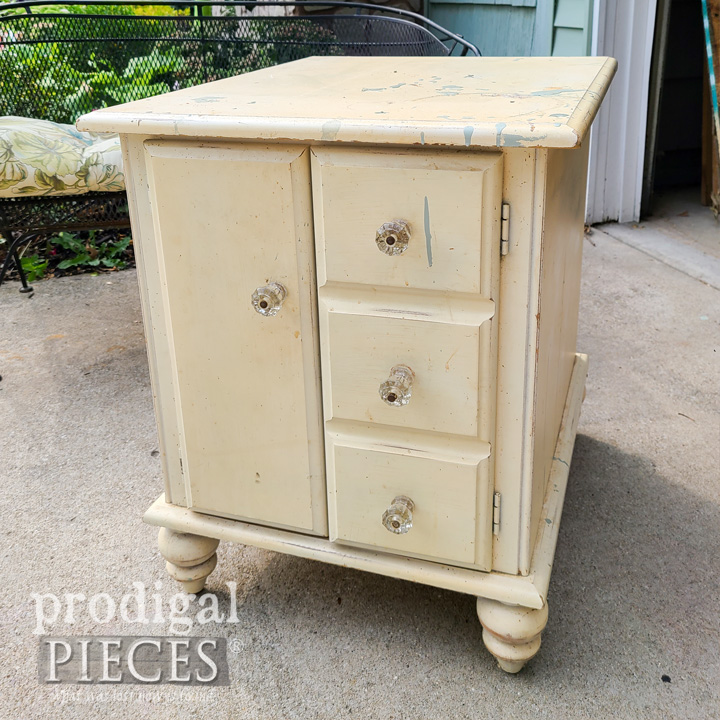
Before we begin, take a look at the before. It’s a piece made by a vintage company that sacrificed quality for quantity at some point. When they used to be made from solid wood, this piece is entirely made of manufactured wood. ugh. That still doesn’t mean all hope is lost. However, I see potential to make it even better.
Step 2
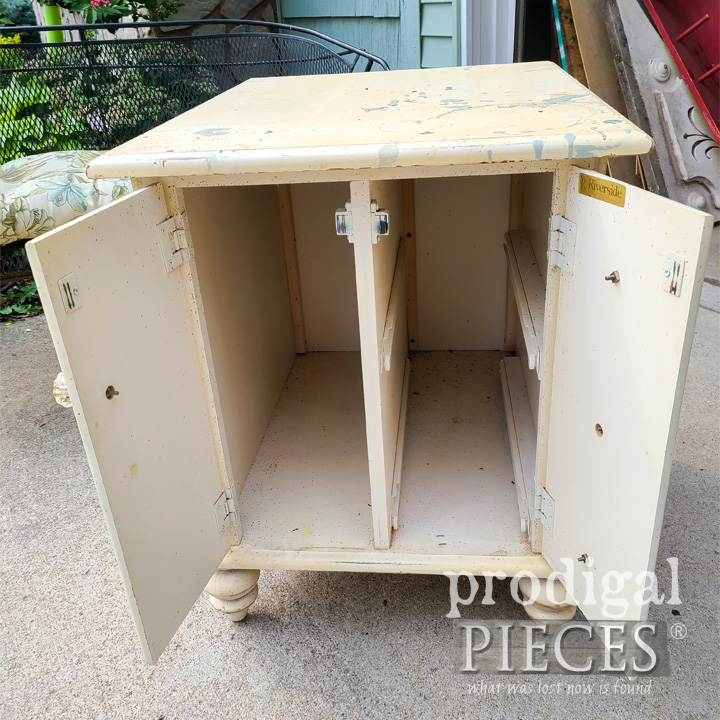
First, let’s take a look inside. It features two doors that open to a large space. Unfortunately, the drawers on the one side are missing. I think the fact that the storage is vertical is very limiting to what can be stored inside.
Step 3
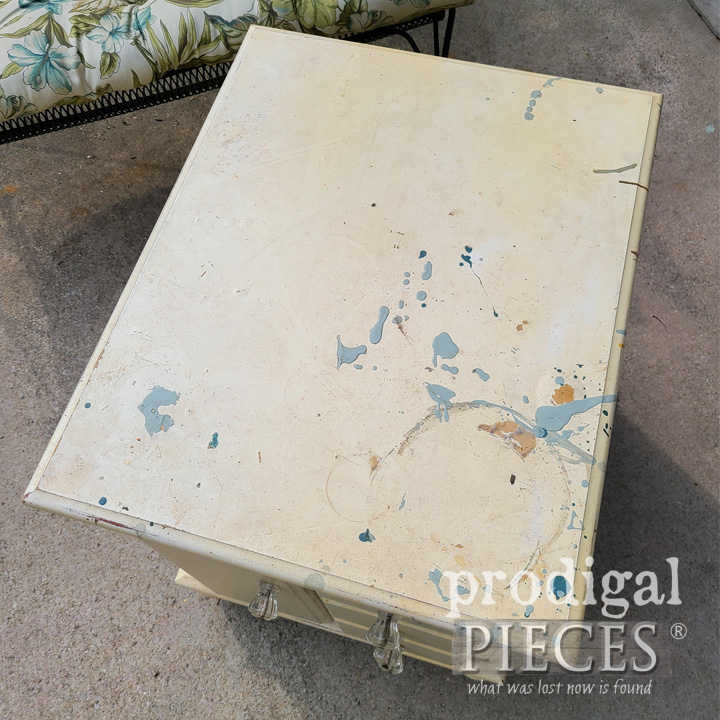
In addition, the MDF top is bubbling from moisture damage, and was even used as a work top as it has cuts in it from a circular saw. Oy!
Step 4
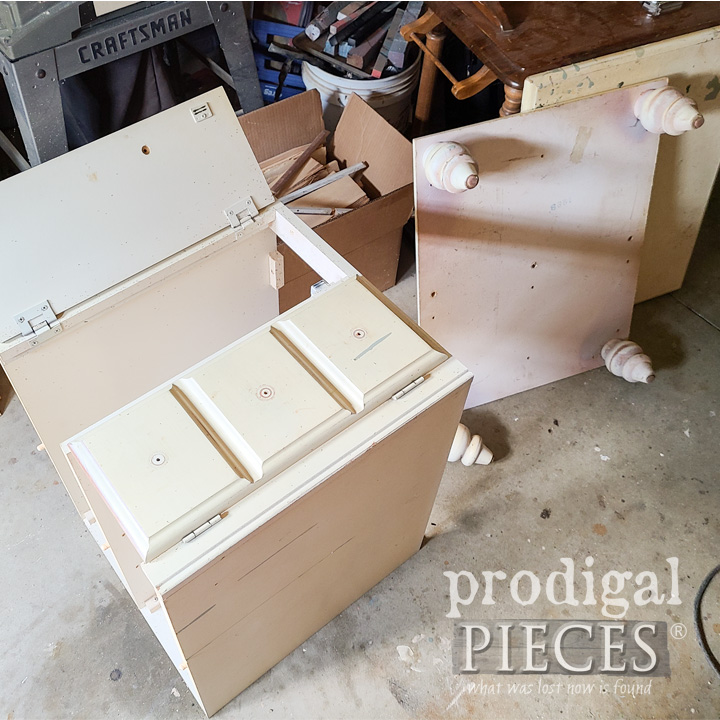
After some deliberation about what steps to take next, I decide to take it down to bare bones. Removing the top and bottom shows me what I have left. As a result, I flip it on its side and rebuild it to be able to stand alone.
Step 5
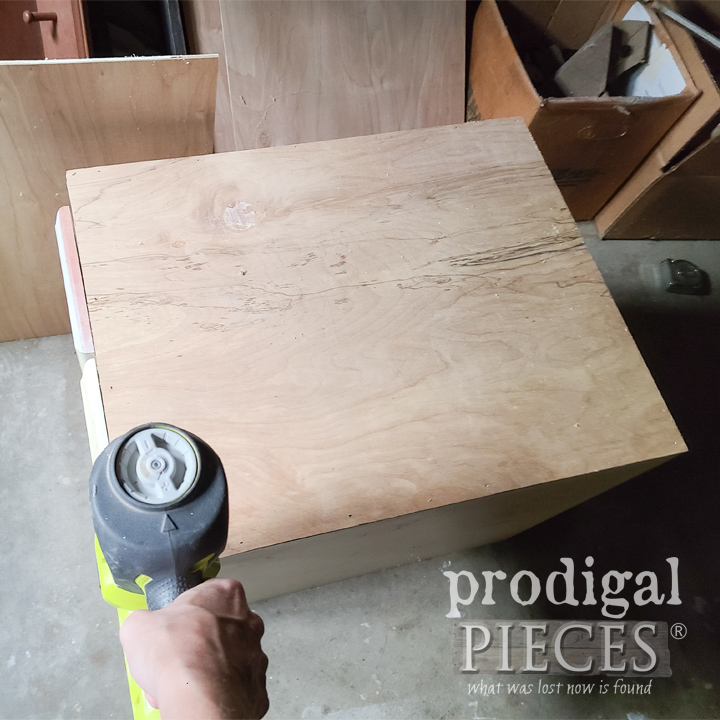
Next, I cut new side panels (which actually used to be the top and bottom) using my nailer. Then, I fill the holes with wood filler and sand smooth.
Step 6
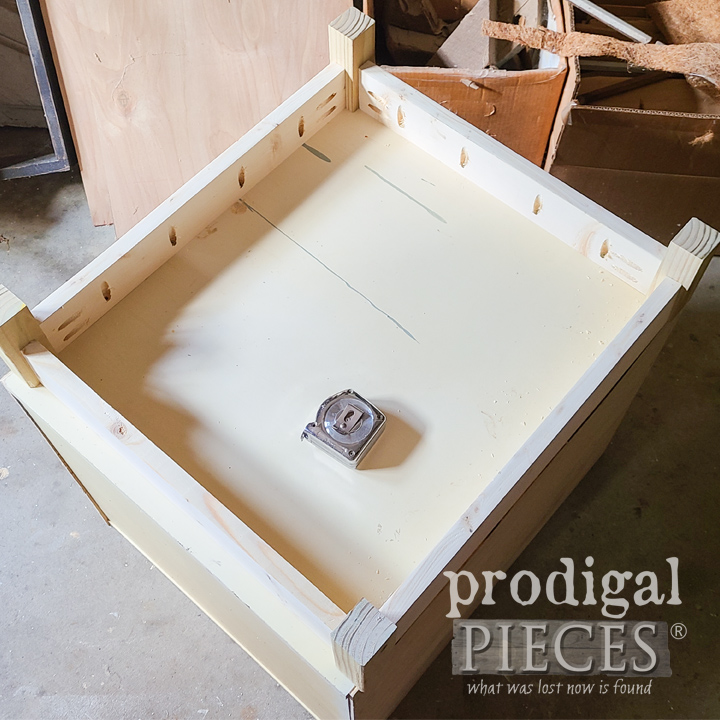
One last thing, I also want to change up the bottom. So, I build a new base using wood I have on hand and attach it with pocket hole joints. I love to build!
Step 7
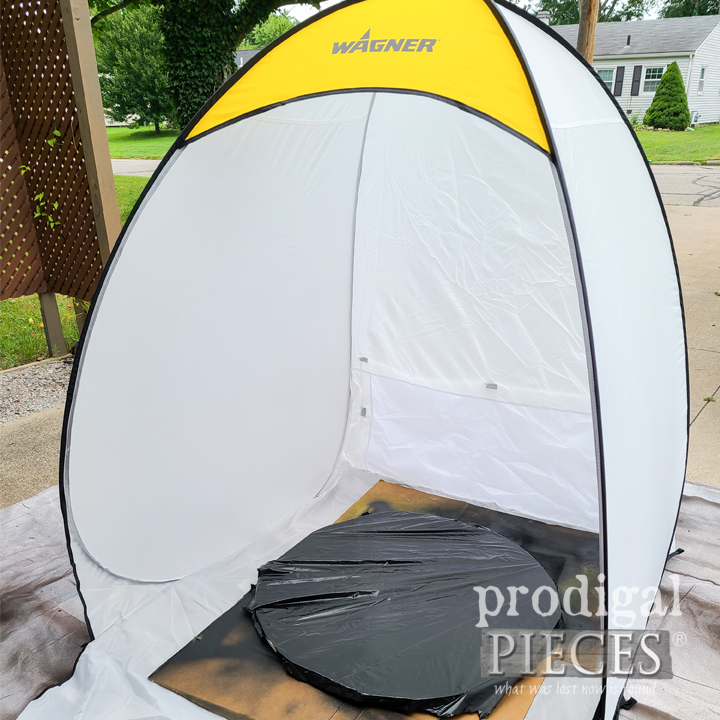
Finally, it’s time for finishing fun. I break out my Wagner Spray Shelter , my HomeRight Super Finish Max Extra Sprayer, and my DIY furniture lazy susan (tutorial HERE). This setup makes it super easy to get my job done, not only fast, but also with a professional finish.
Step 8
Here’s my handy-work complete. Did you notice I also moved the doors to suit opening from top to bottom instead of from side to side? This way we can have great use of space instead of vertical storage. Now it’s time to prime. Because the cabinet has faux wood mixed with my wood additions, I want to use Zinnser BIN primer that not only makes the surface prepped, but hides any stains and odors wonderfully. In the past, I’m even able to block smoke on an entertainment center turned child’s wardrobe. (see it in this post).
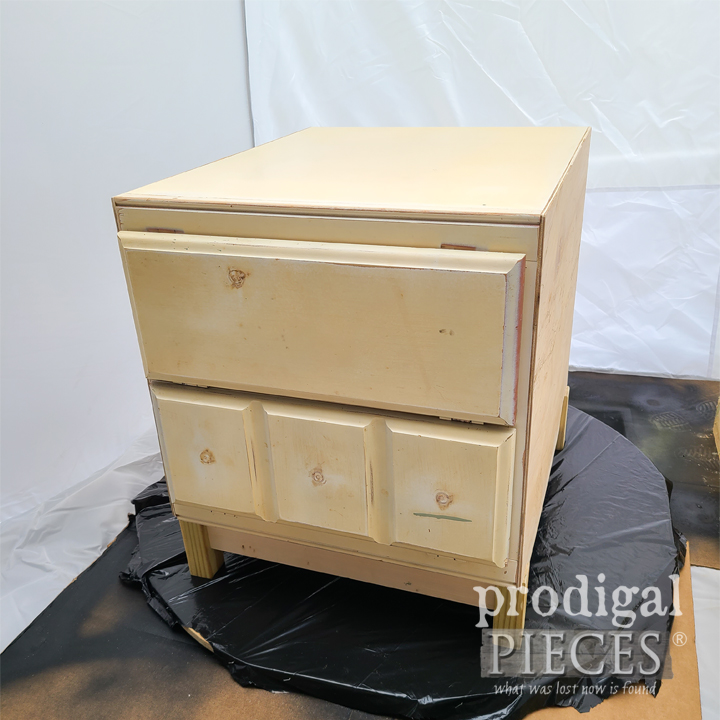
Step 9
I apply the primer and let cure for 45 minutes. Then, I clean my sprayer and refill with my paint of choice. Blue is one of my favorite colors and this one suits my end goal. I recommend setting up the sprayer per manufacturer instructions on the paint can. Before spraying, practice on cardboard or scrap wood to get the flow to your liking. Begin by spraying before you hit your project, and then continue off. Also, move your arm from your elbow, and not your wrist for even coverage.
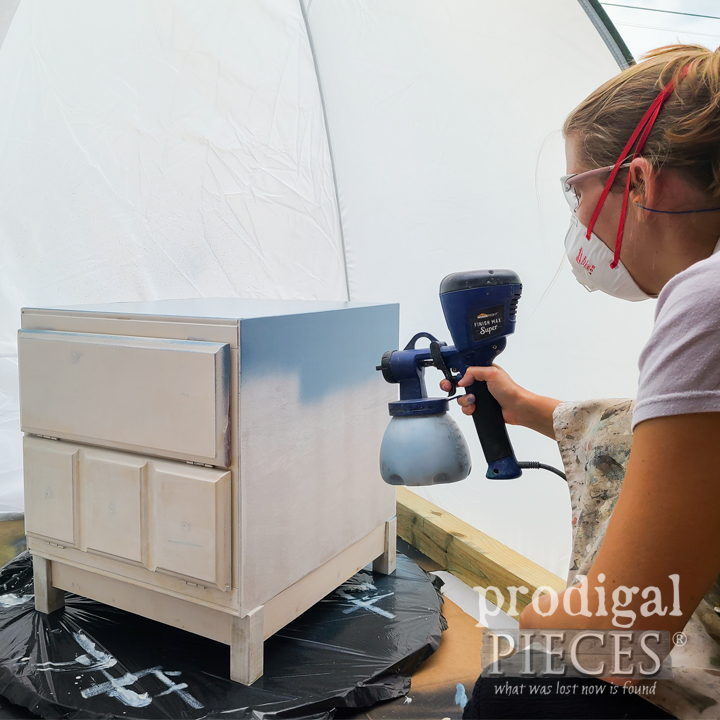
Step 10
In less than ten minutes, I’ve got my first coat on and I’m ready to roll. I just love my tools!
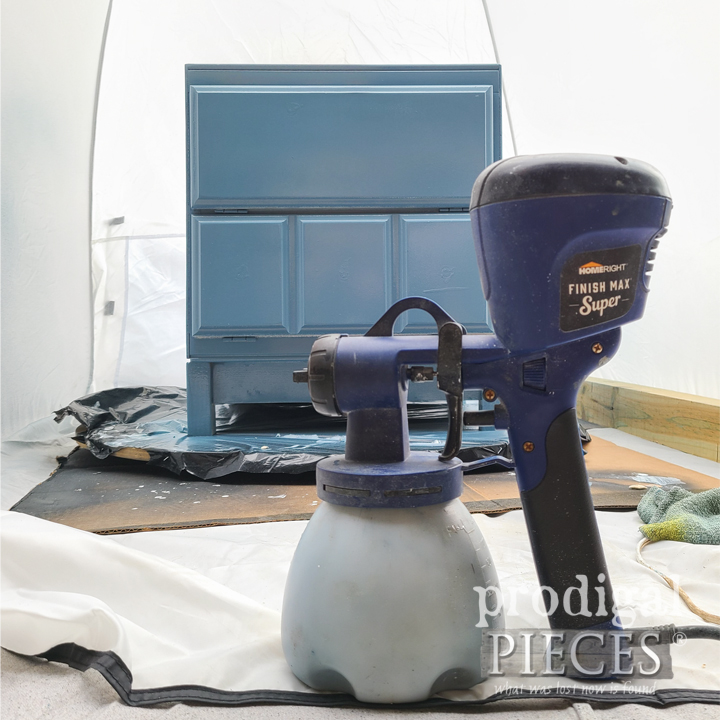
Step 11
Last, when two coats have cured both inside and out, I add new hardware and my cabinet side table is made new. The shelves both open for plenty of storage for books, linens, etc.
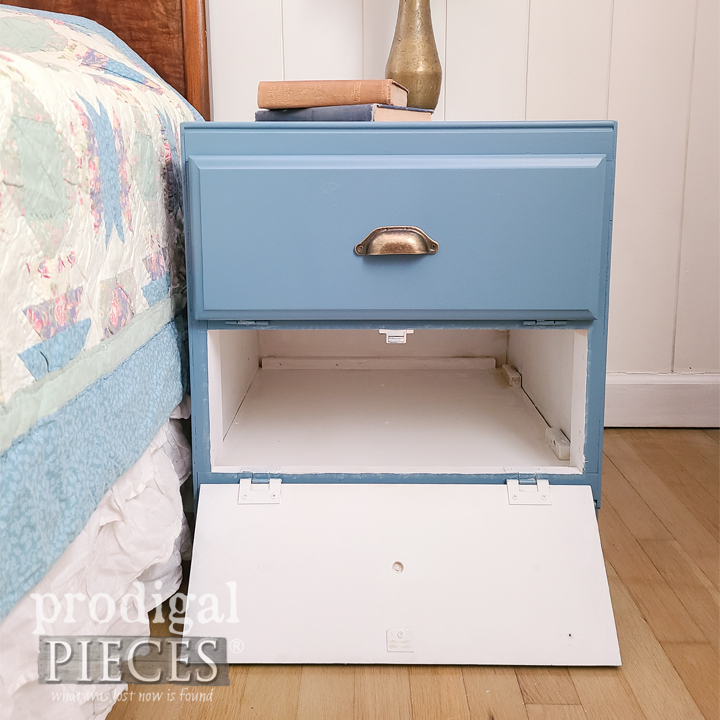
Step 12
Meanwhile, the outside looks like a brand new piece. Oh, and don’t worry…I’ve saved those gorgeous glass pulls and turned feet for a future project. No waste goes on around here! I’d love for you to come visit me on my blog, Prodigal Pieces, to see what else I’m up to each week. My goal is to inspire you to give DIY a try and make your house your home. Until next time!
Download project steps & shopping list
We'll never share your email with anyone else.