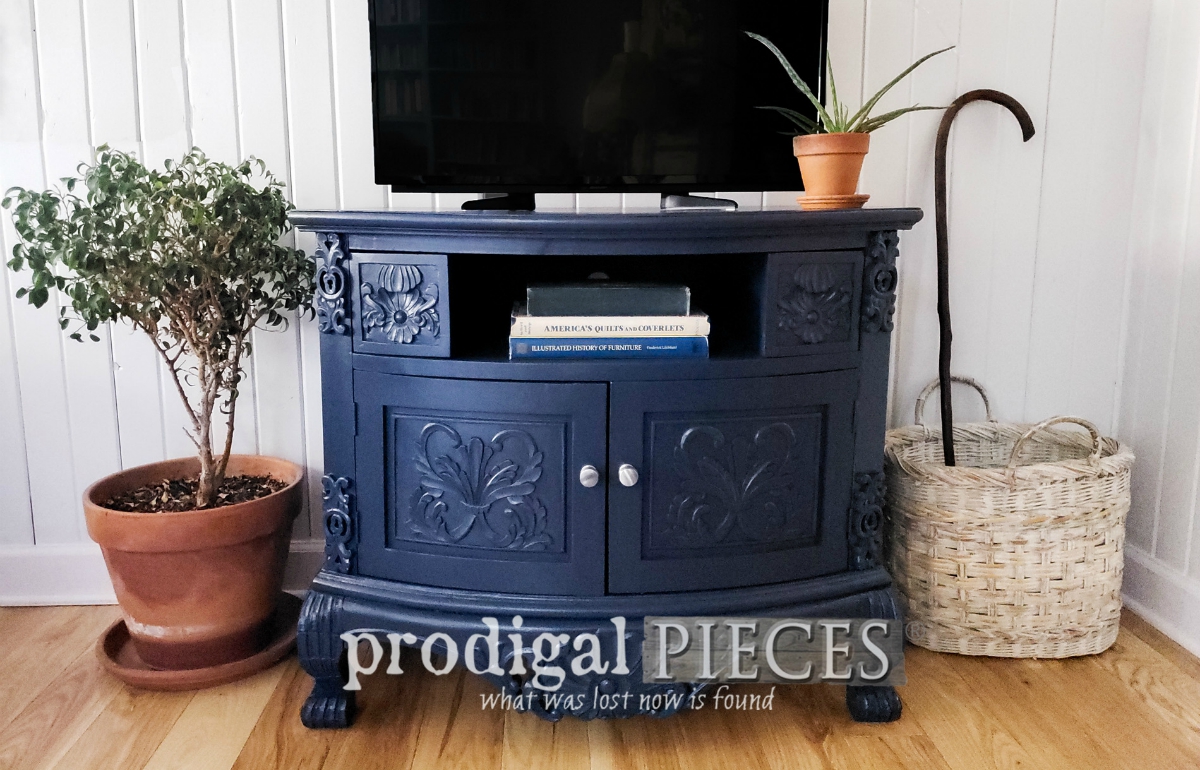
Painted Entertainment Stand the Easy Way
Quickly add a new look to old furniture pieces by applying a fresh coat of paint! Larissa with Prodigal Pieces has the simple details for this tutorial.
Do you have a functional piece of furniture in your home that needs an update? It's time to break out the paint and give it some new life. This ornate entertainment stand would have been a beast to tackle with a brush, but the HomeRight Super Finish Max is to the rescue! Follow along to see how easy it can be...really.
When I was approached by my client to paint this piece for her new room makeover, I instantly knew that I could, not only get it done fast, but with a professional finish. All of the pressed and/or carved piece might seem daunting, but it really is easy with the right tools and know-how.
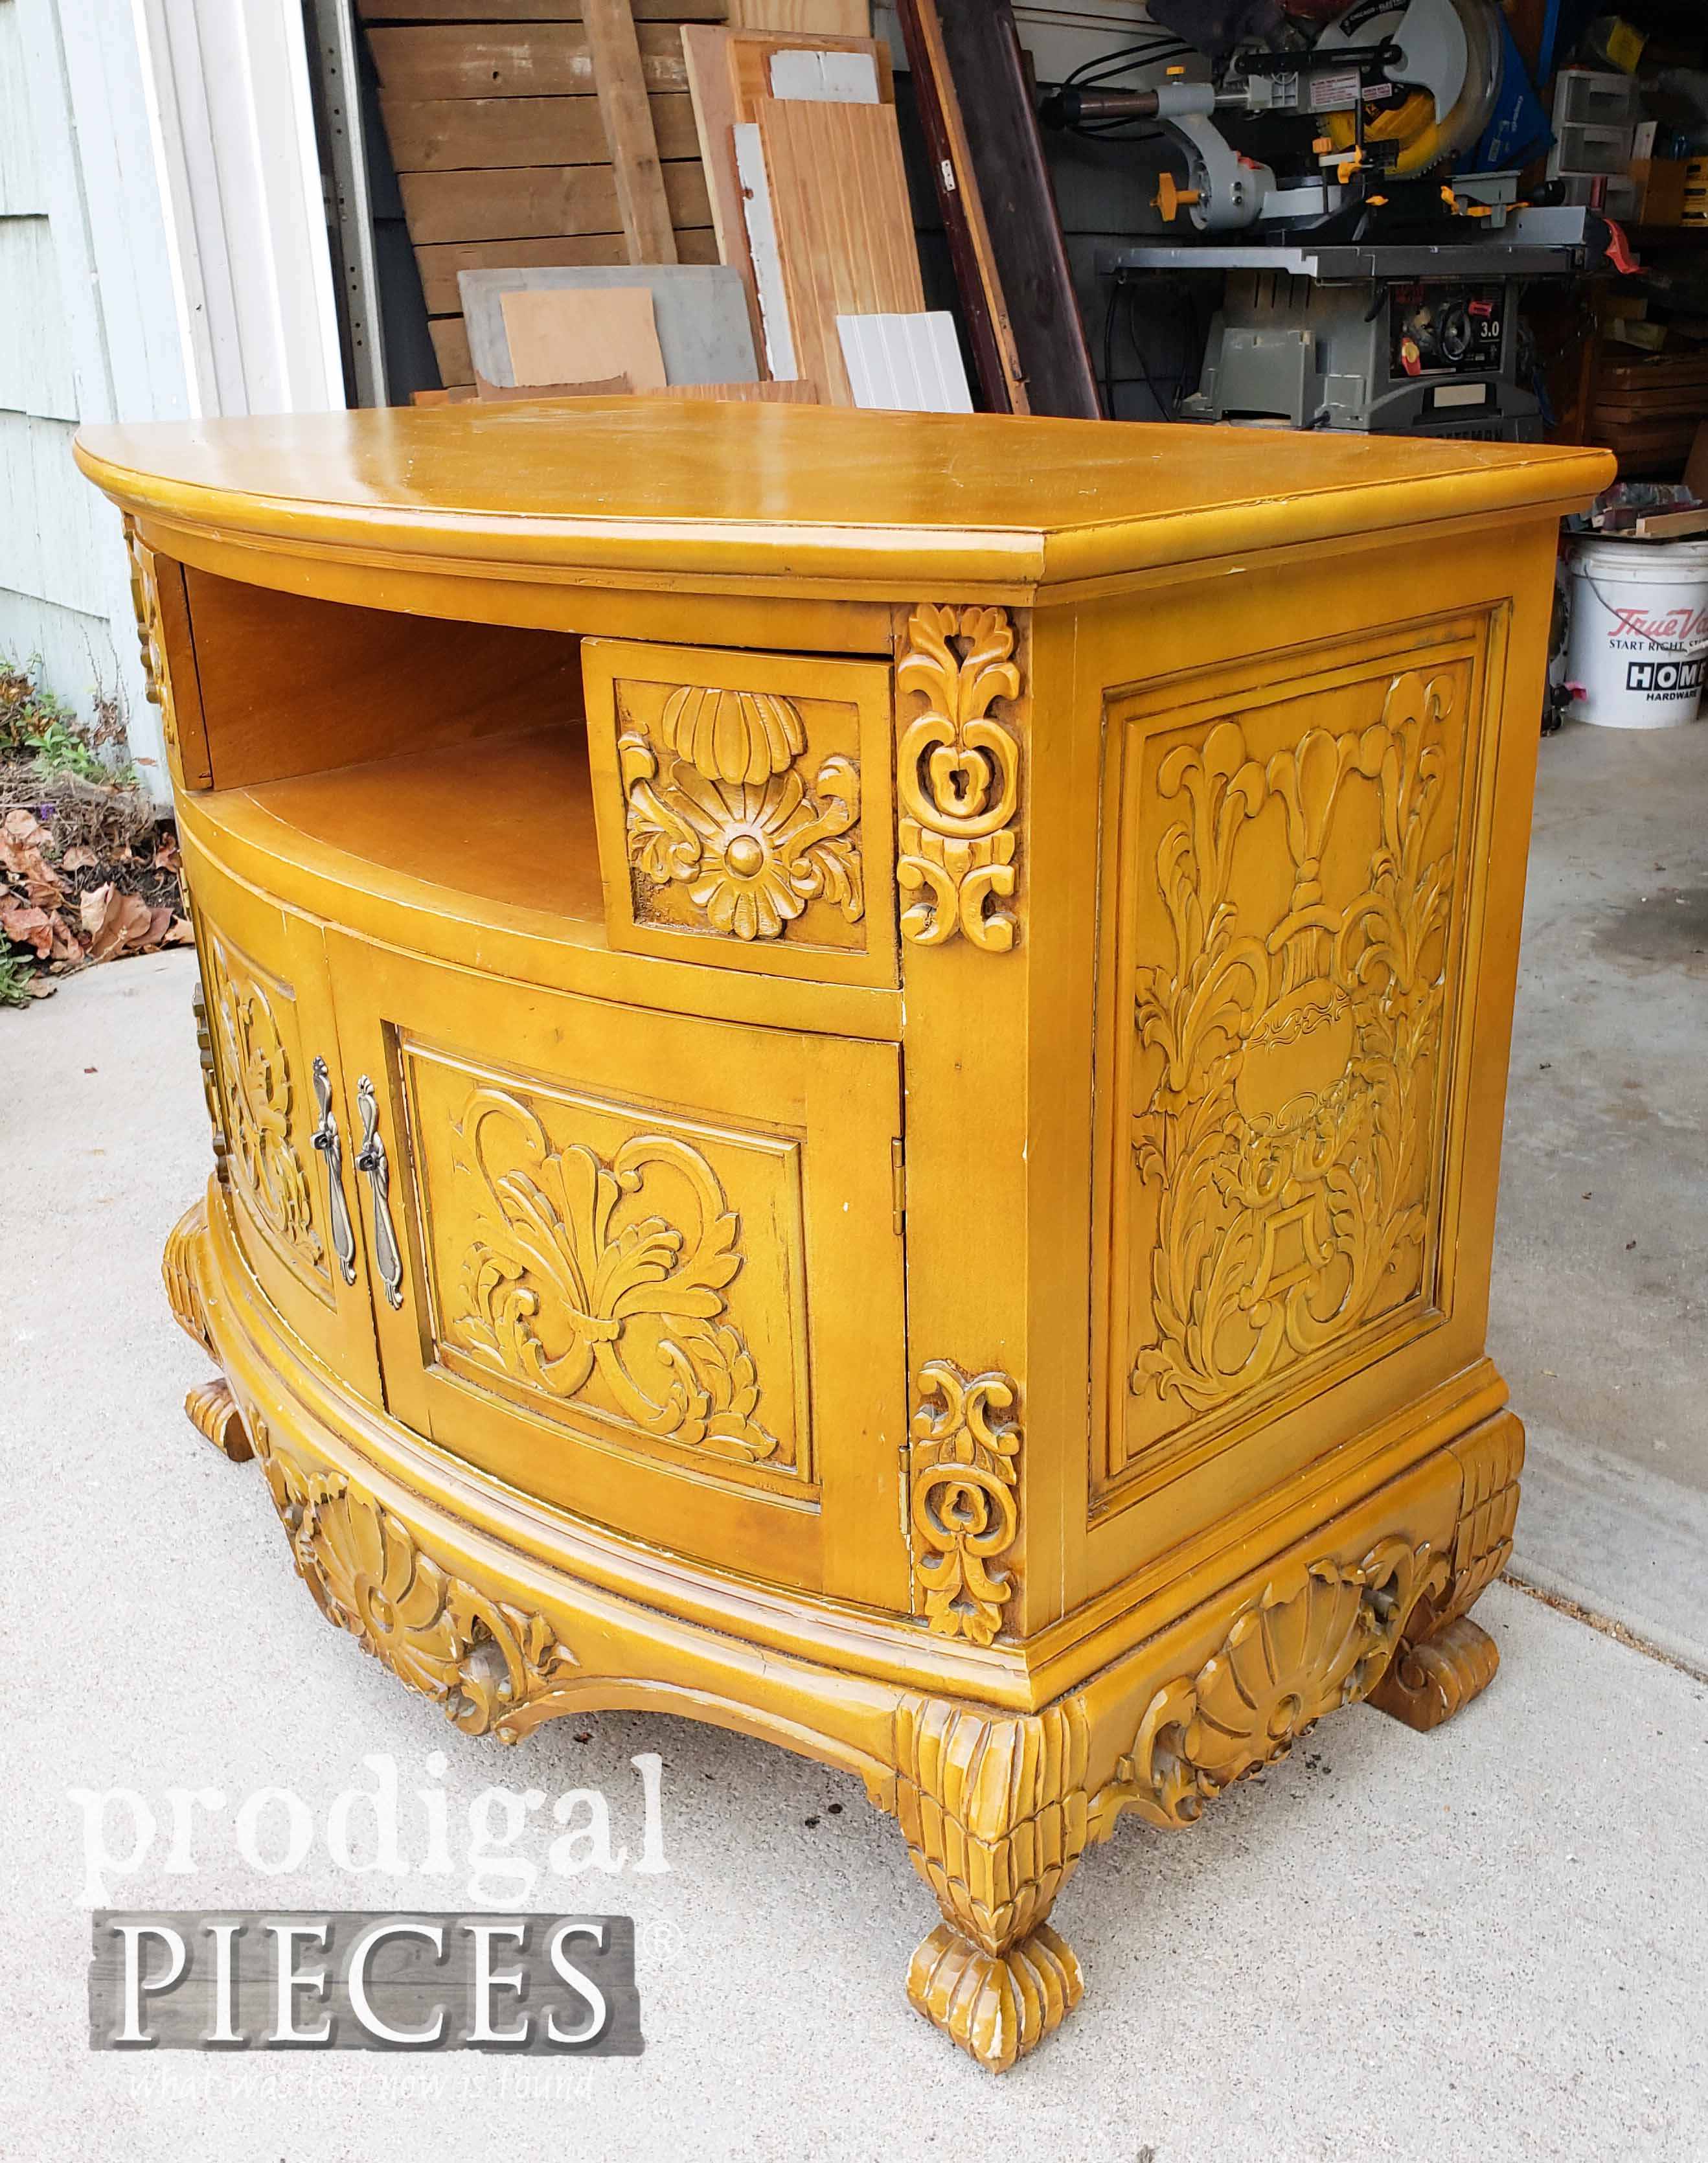
First, the key to a great finish is a great beginning. Always take the time to prep your project piece whether it's sanding it needs, a good cleaning with a vinegar-water mixture (1:2 ratio), or removal of hardware, etc. Your efforts into the first steps are as crucial as your finishing steps. After I sanded down the dripping poly on this entertainment stand, I cleaned it up and prepared my area. My go-to tools are my Super Finish Max Paint Sprayer, my Medium Spray Shelter and my self-built DIY turn table for furniture. You can see the build plans for it HERE.
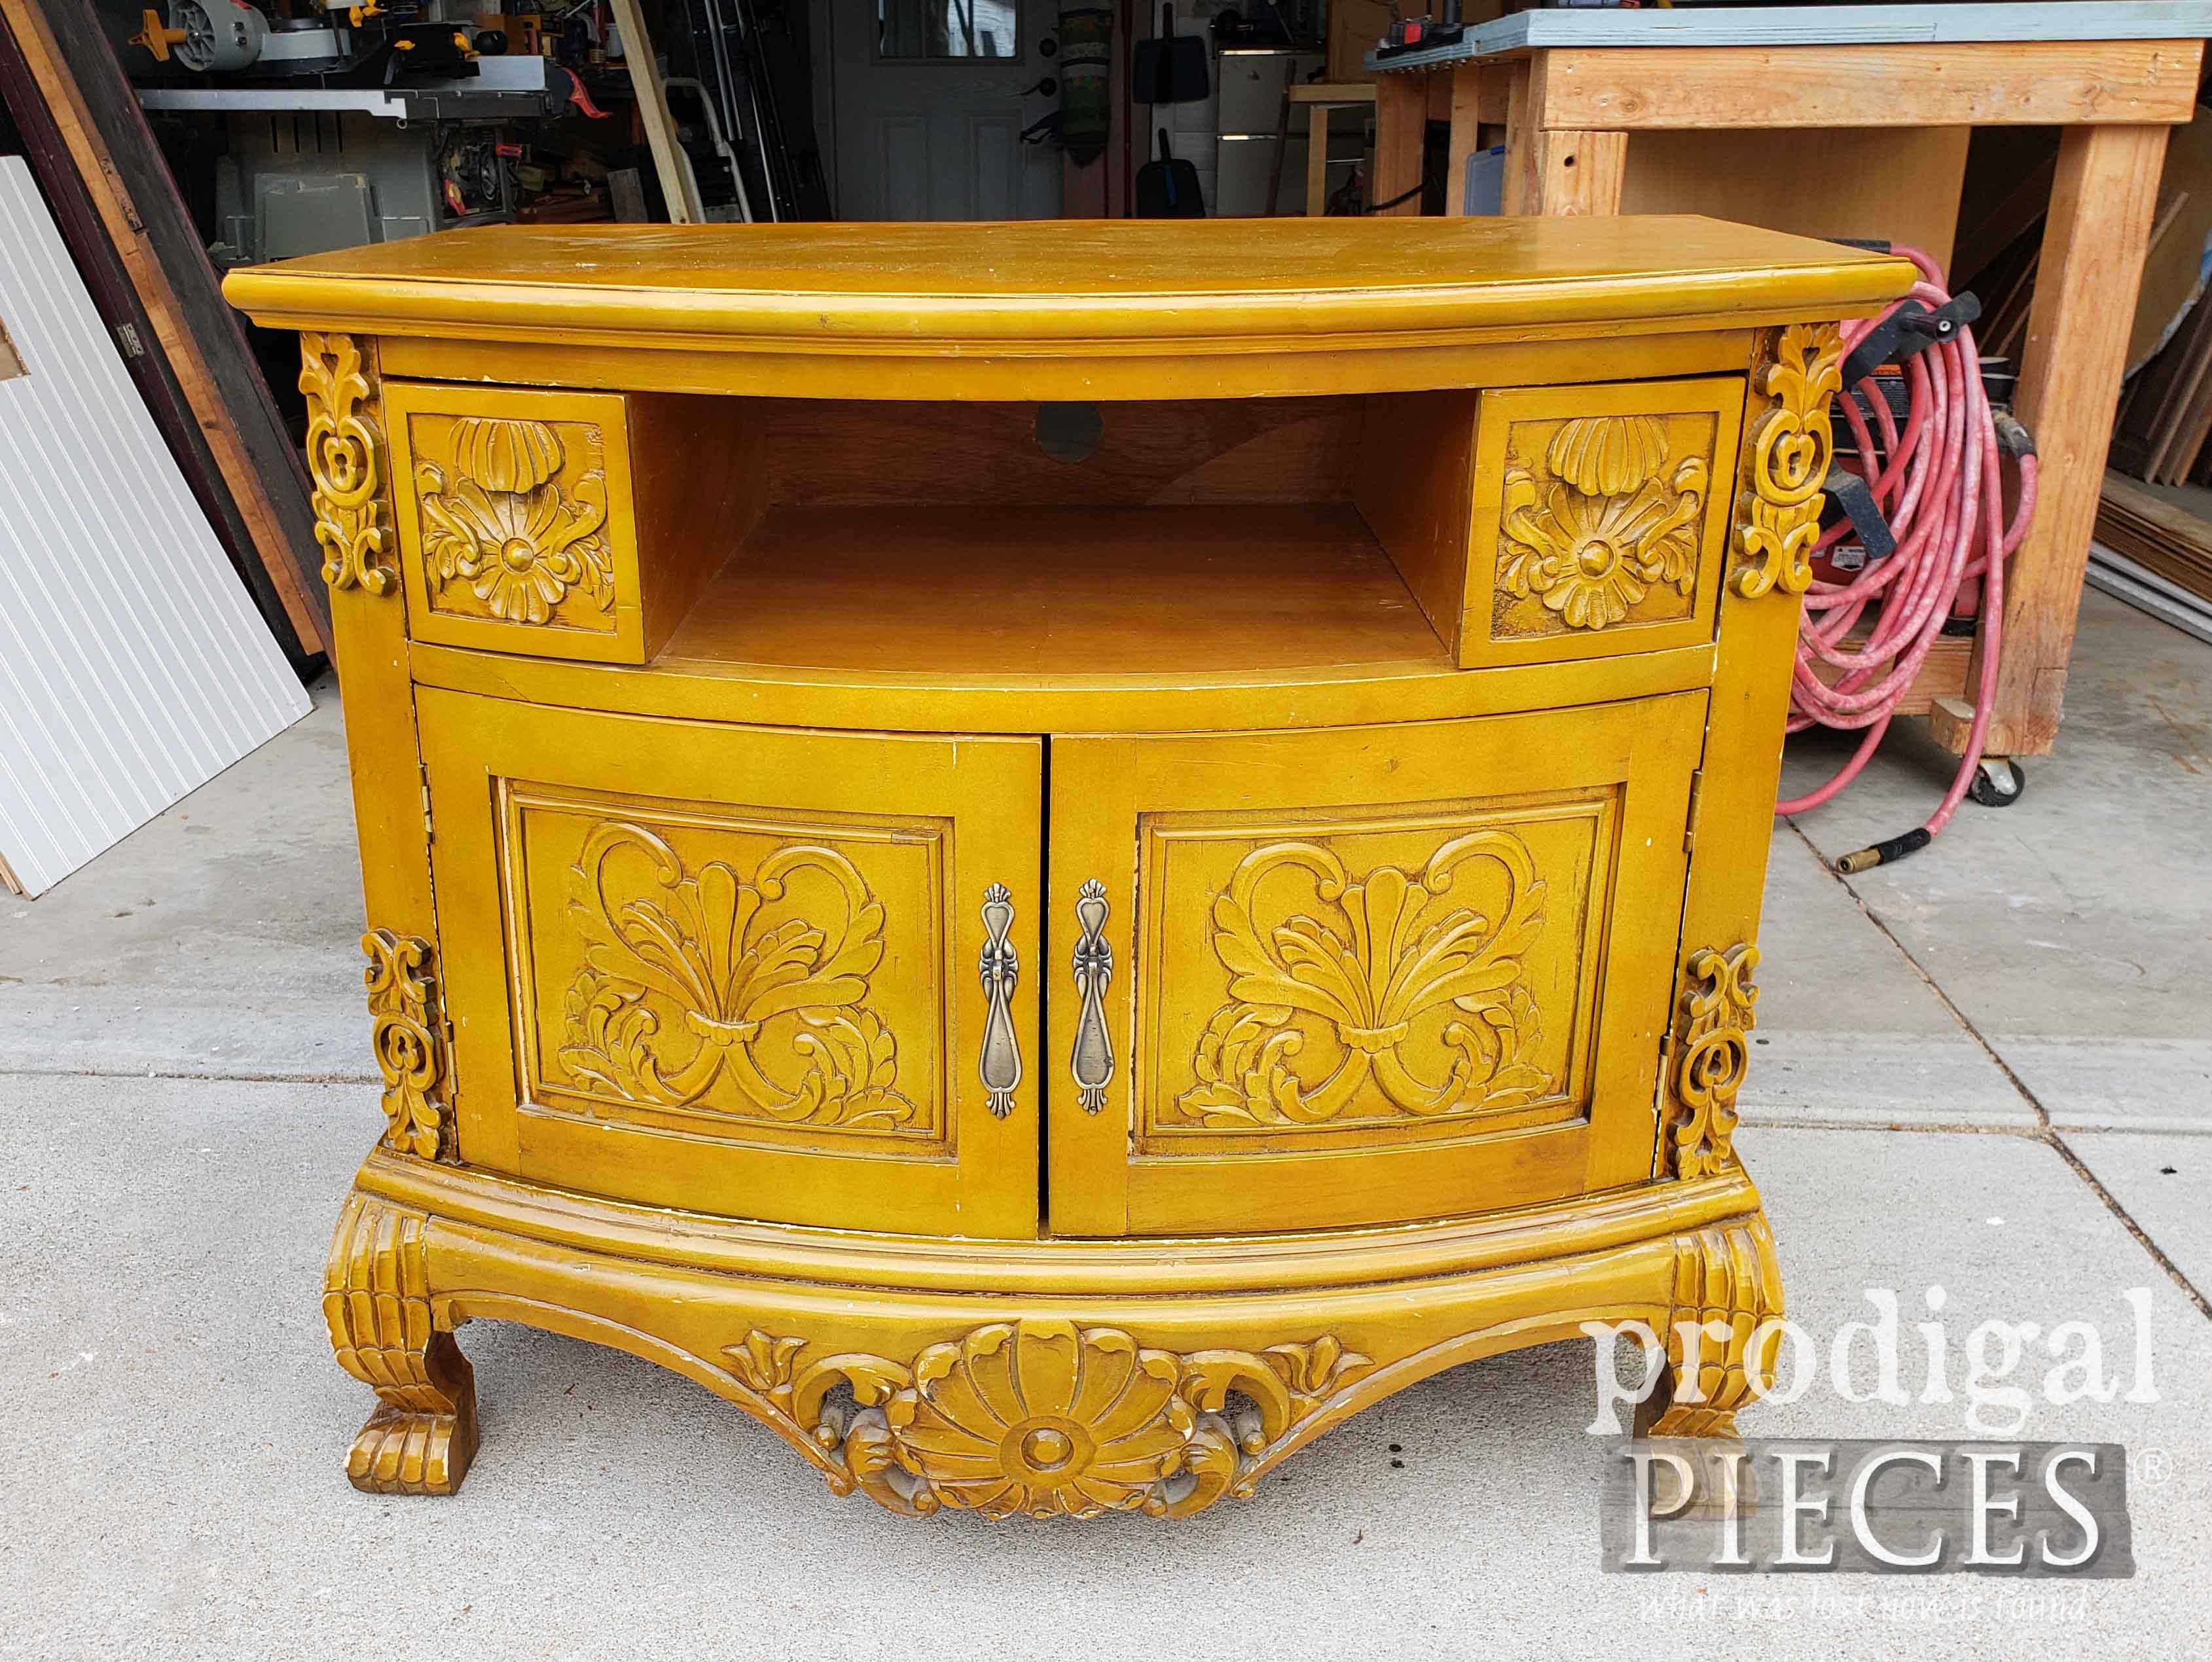
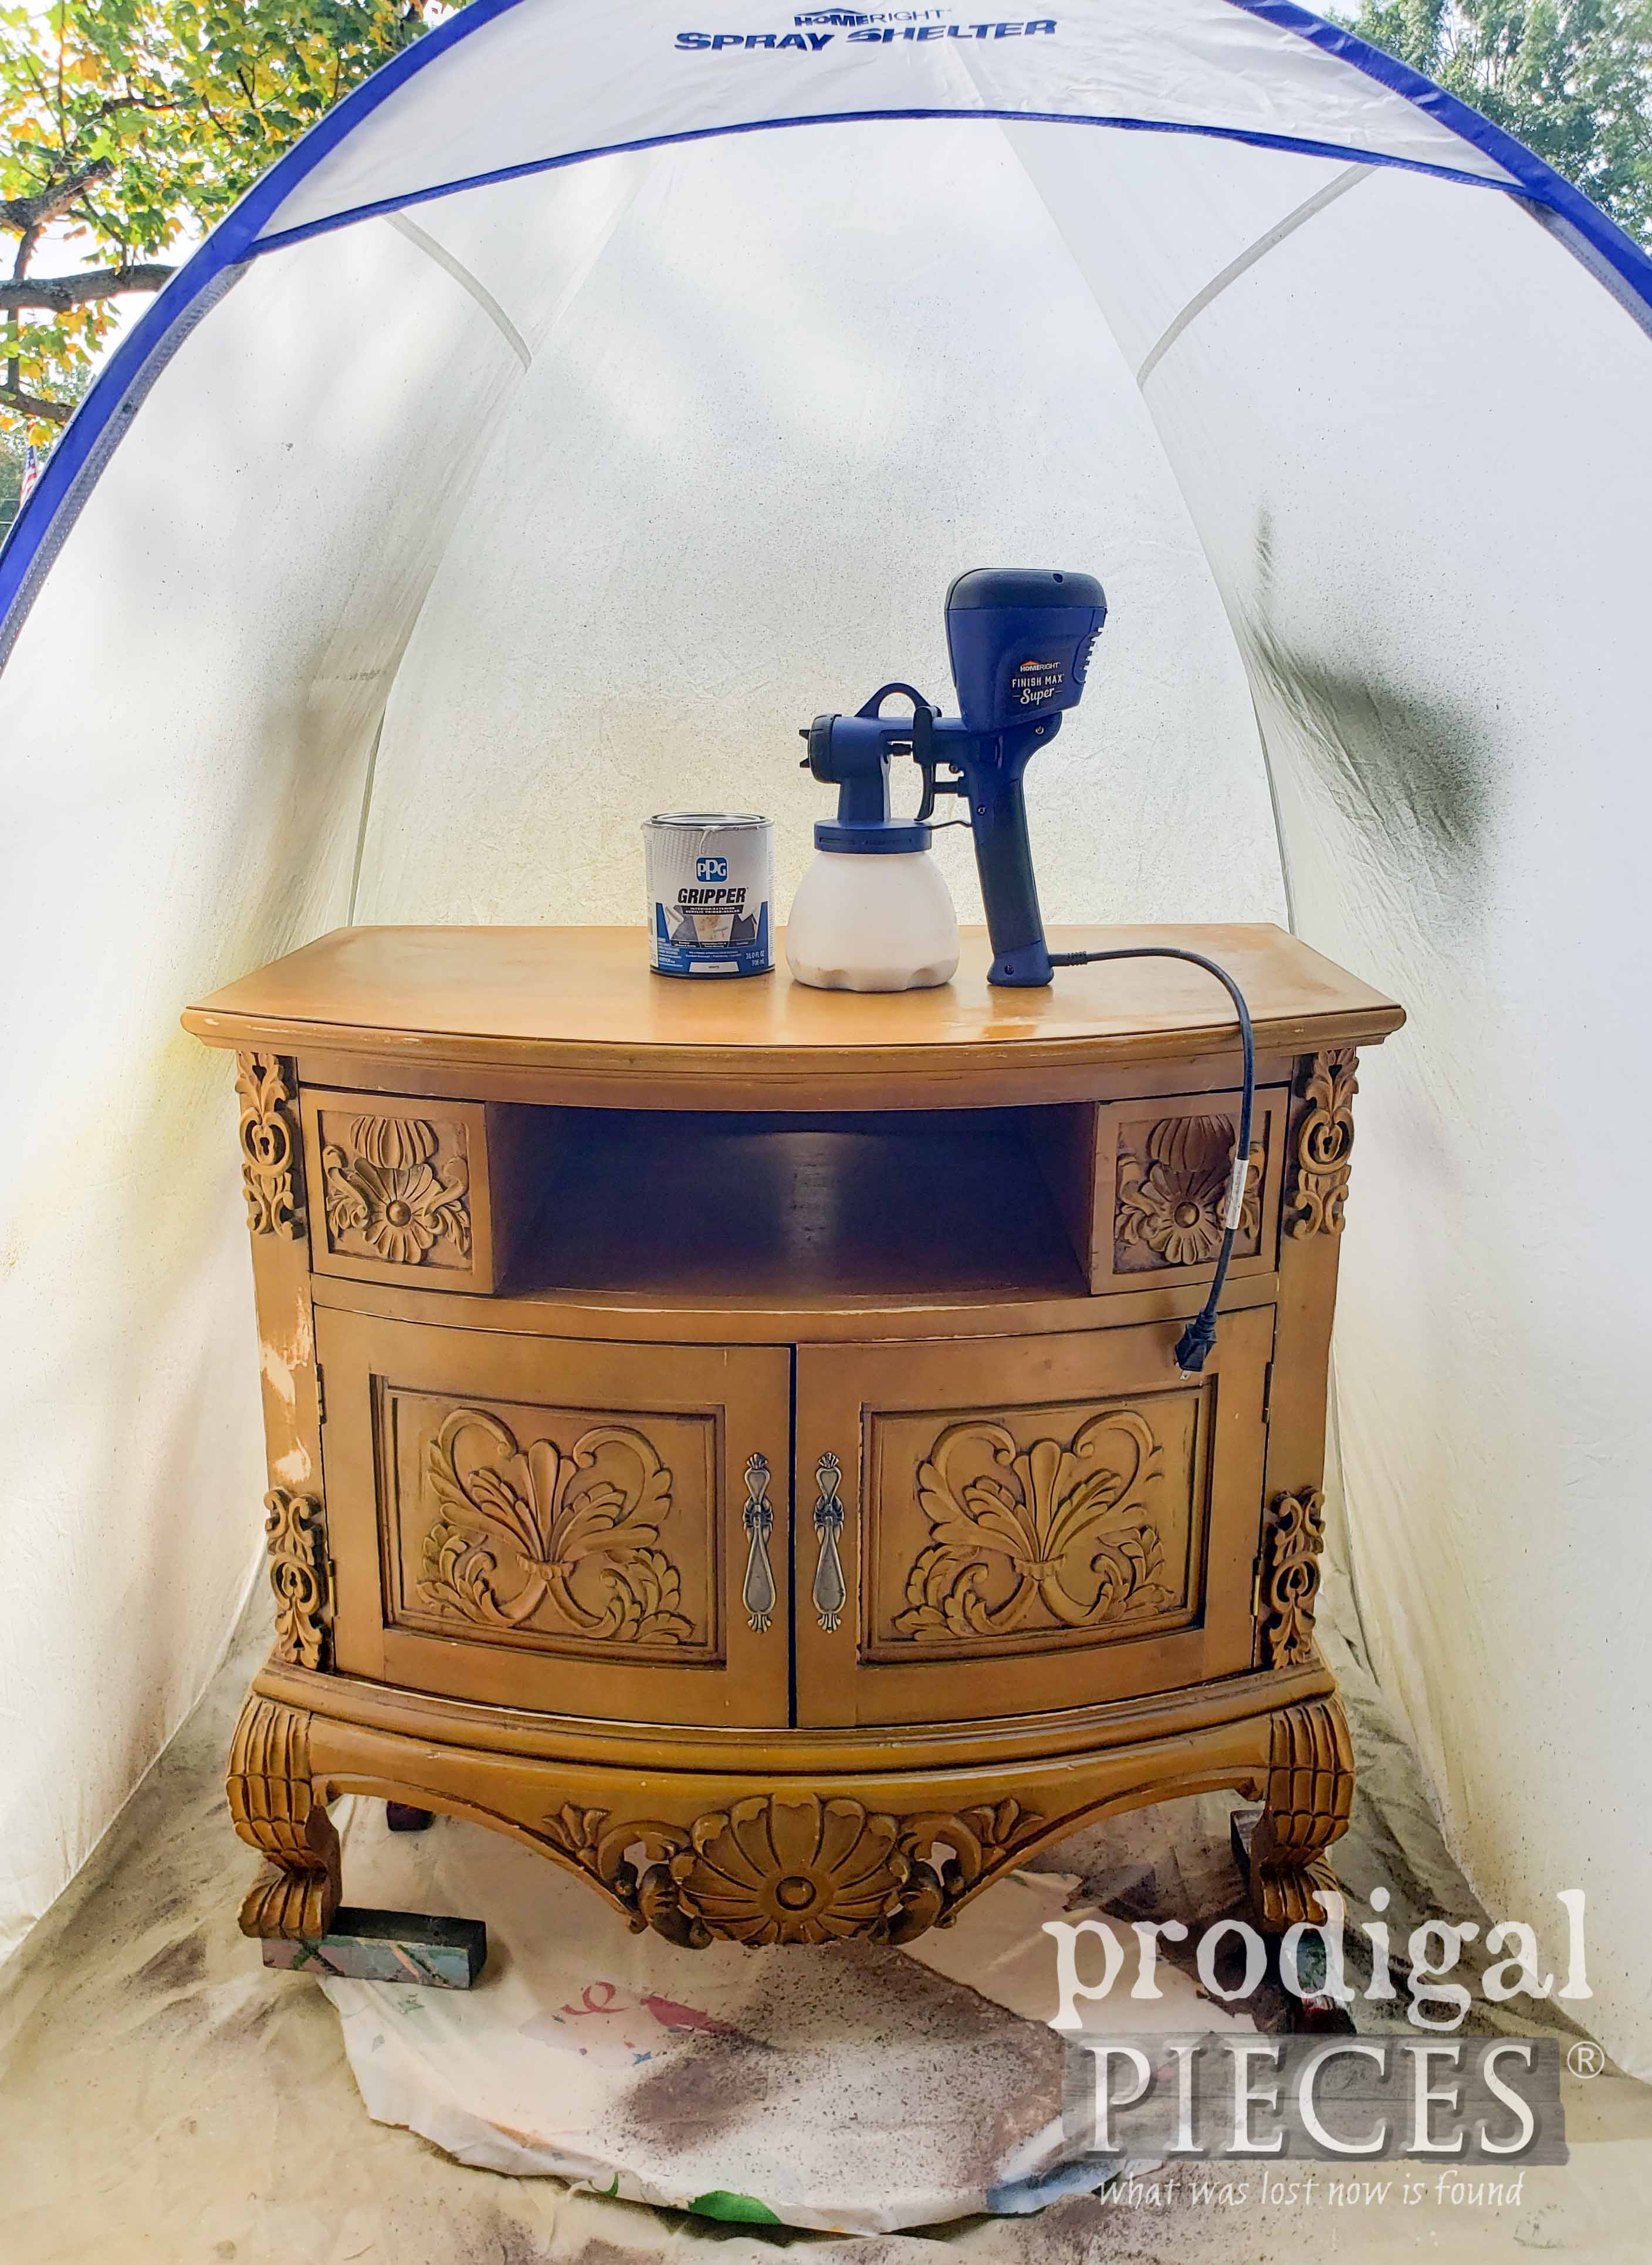
Before I begin spraying, I do a practice test on a piece of cardboard or scrap wood. This is to check my flow valve control as well as how I thinned my paint. Not all paints require thinning, so check the manufacturer instructions before filling your canister. Since this entertainment stand had a super thick poly on it and it would be getting much active use, I chose to use a Gripper Primer. First, I begin spraying before I hit the surface and continue until off. In addition, make sure to move with your shoulder and elbow, as opposed to just your wrist for even coverage.
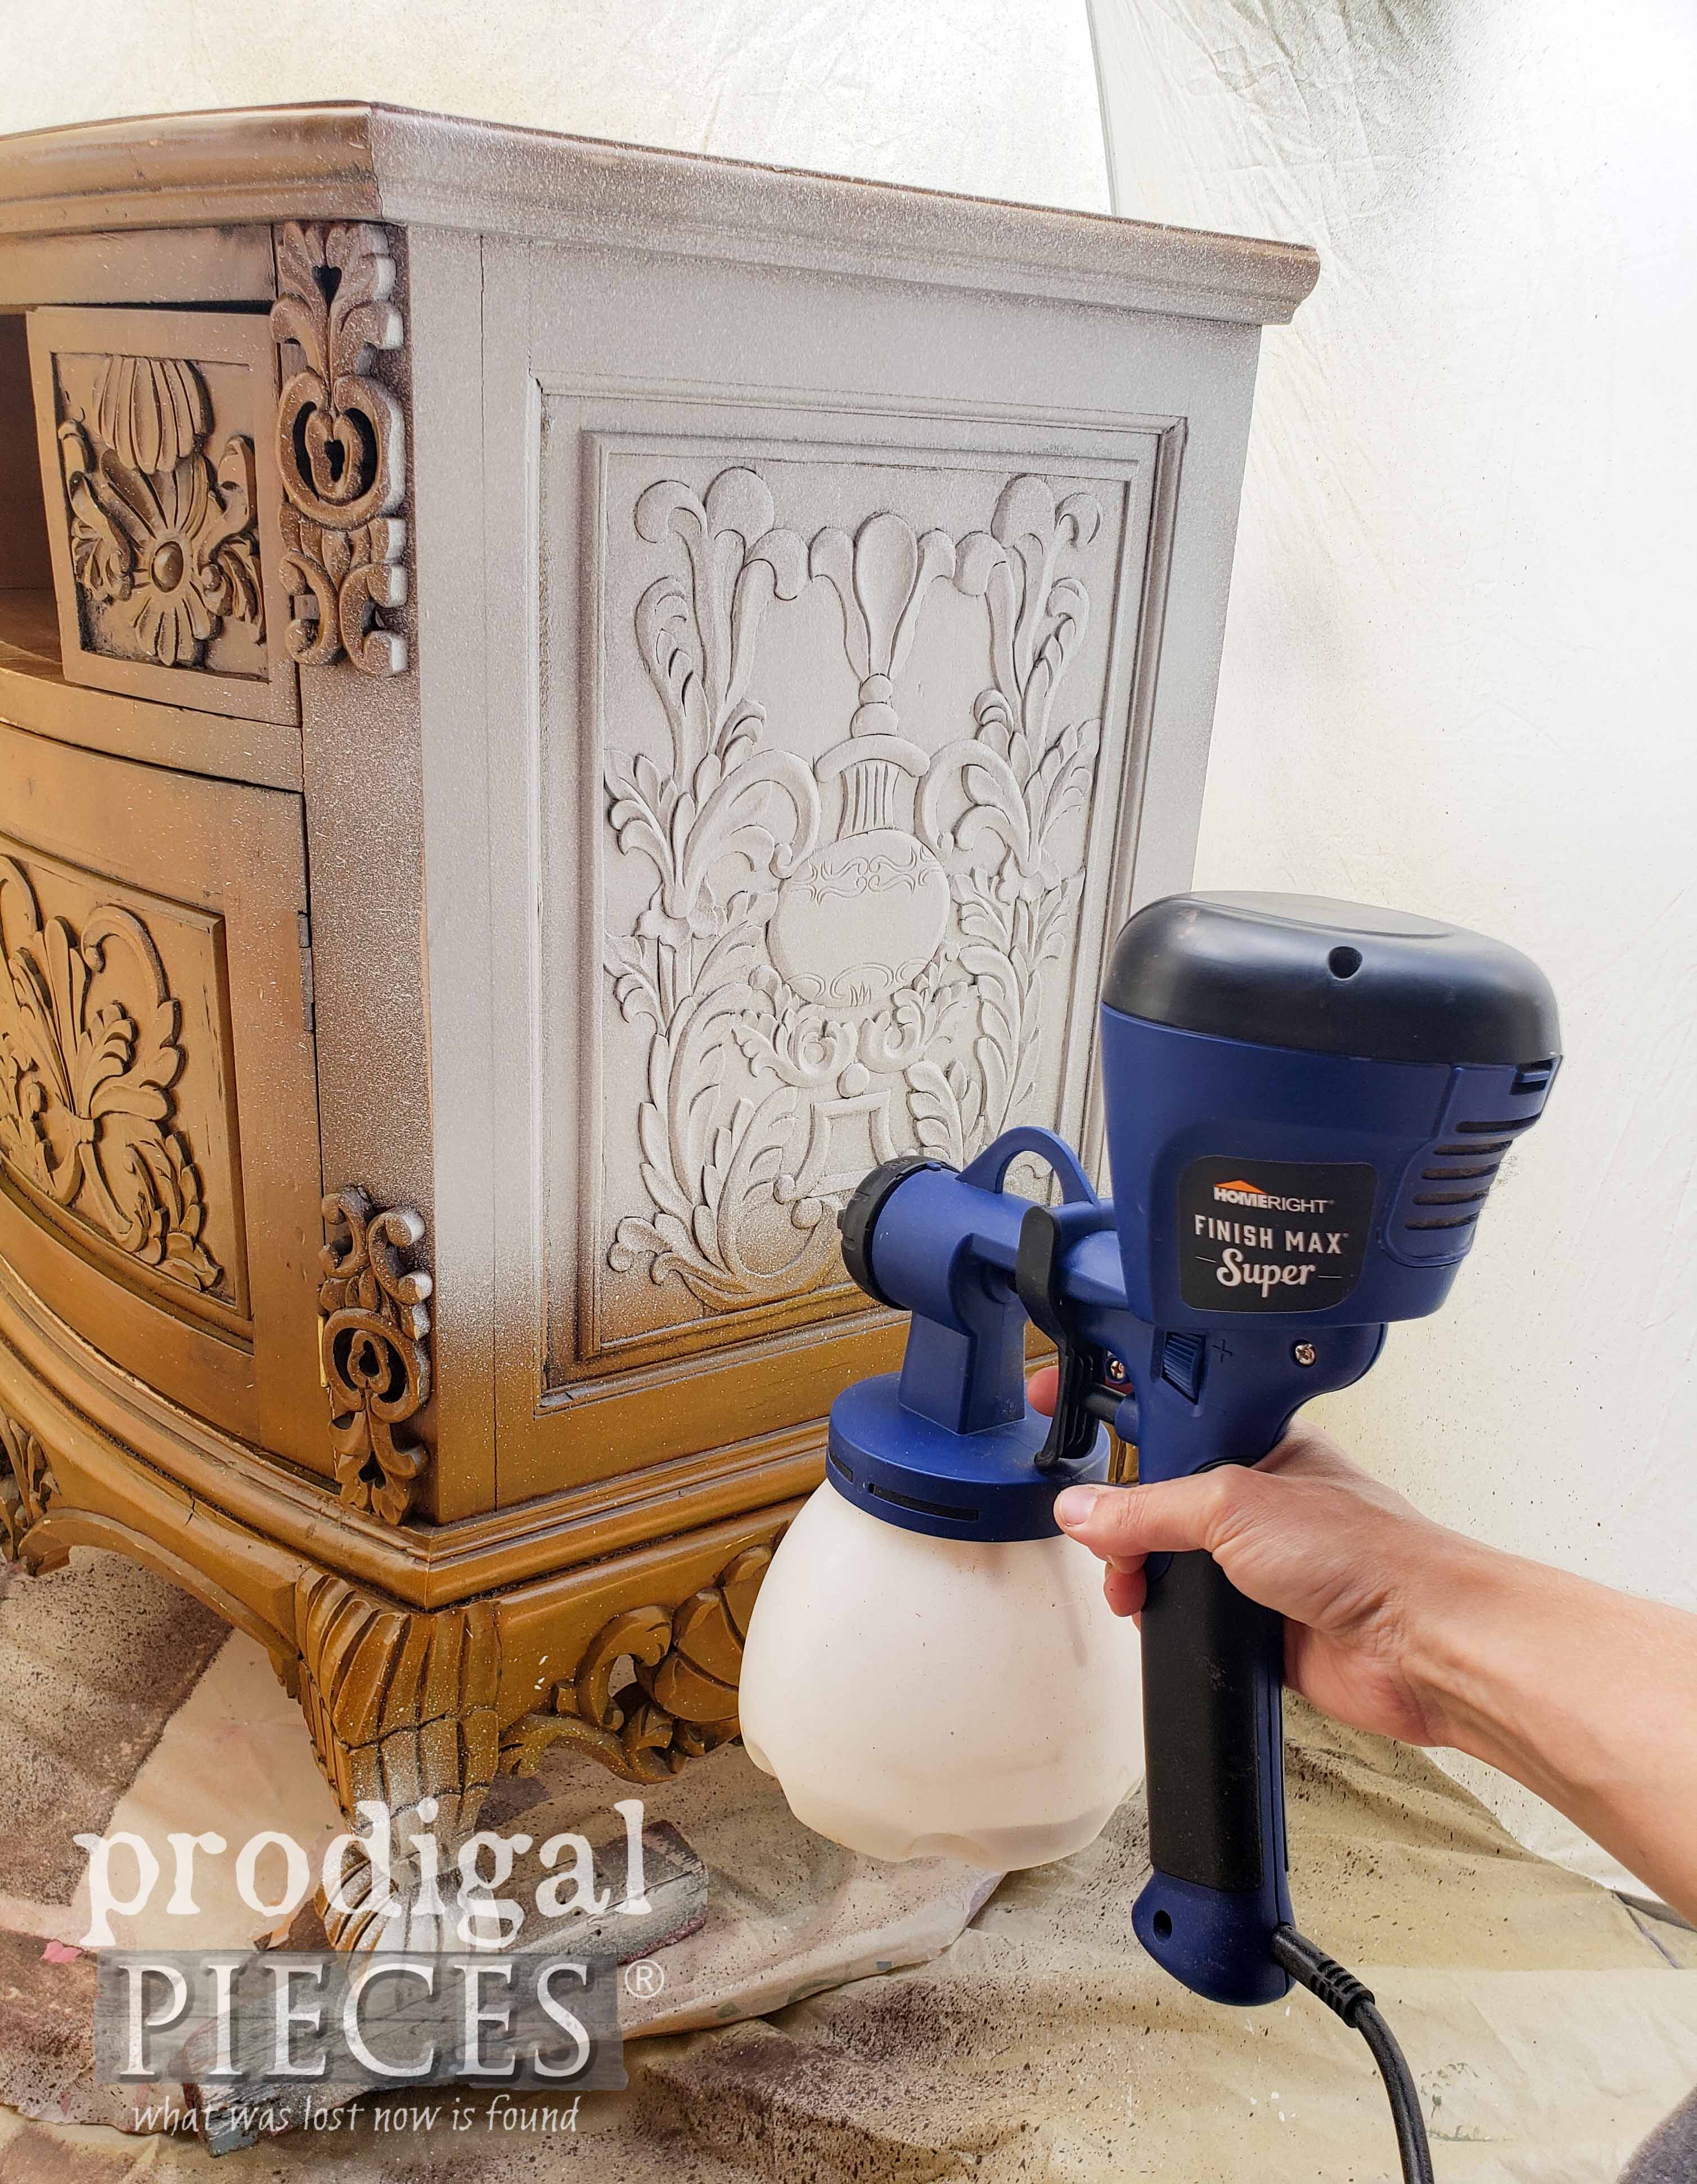
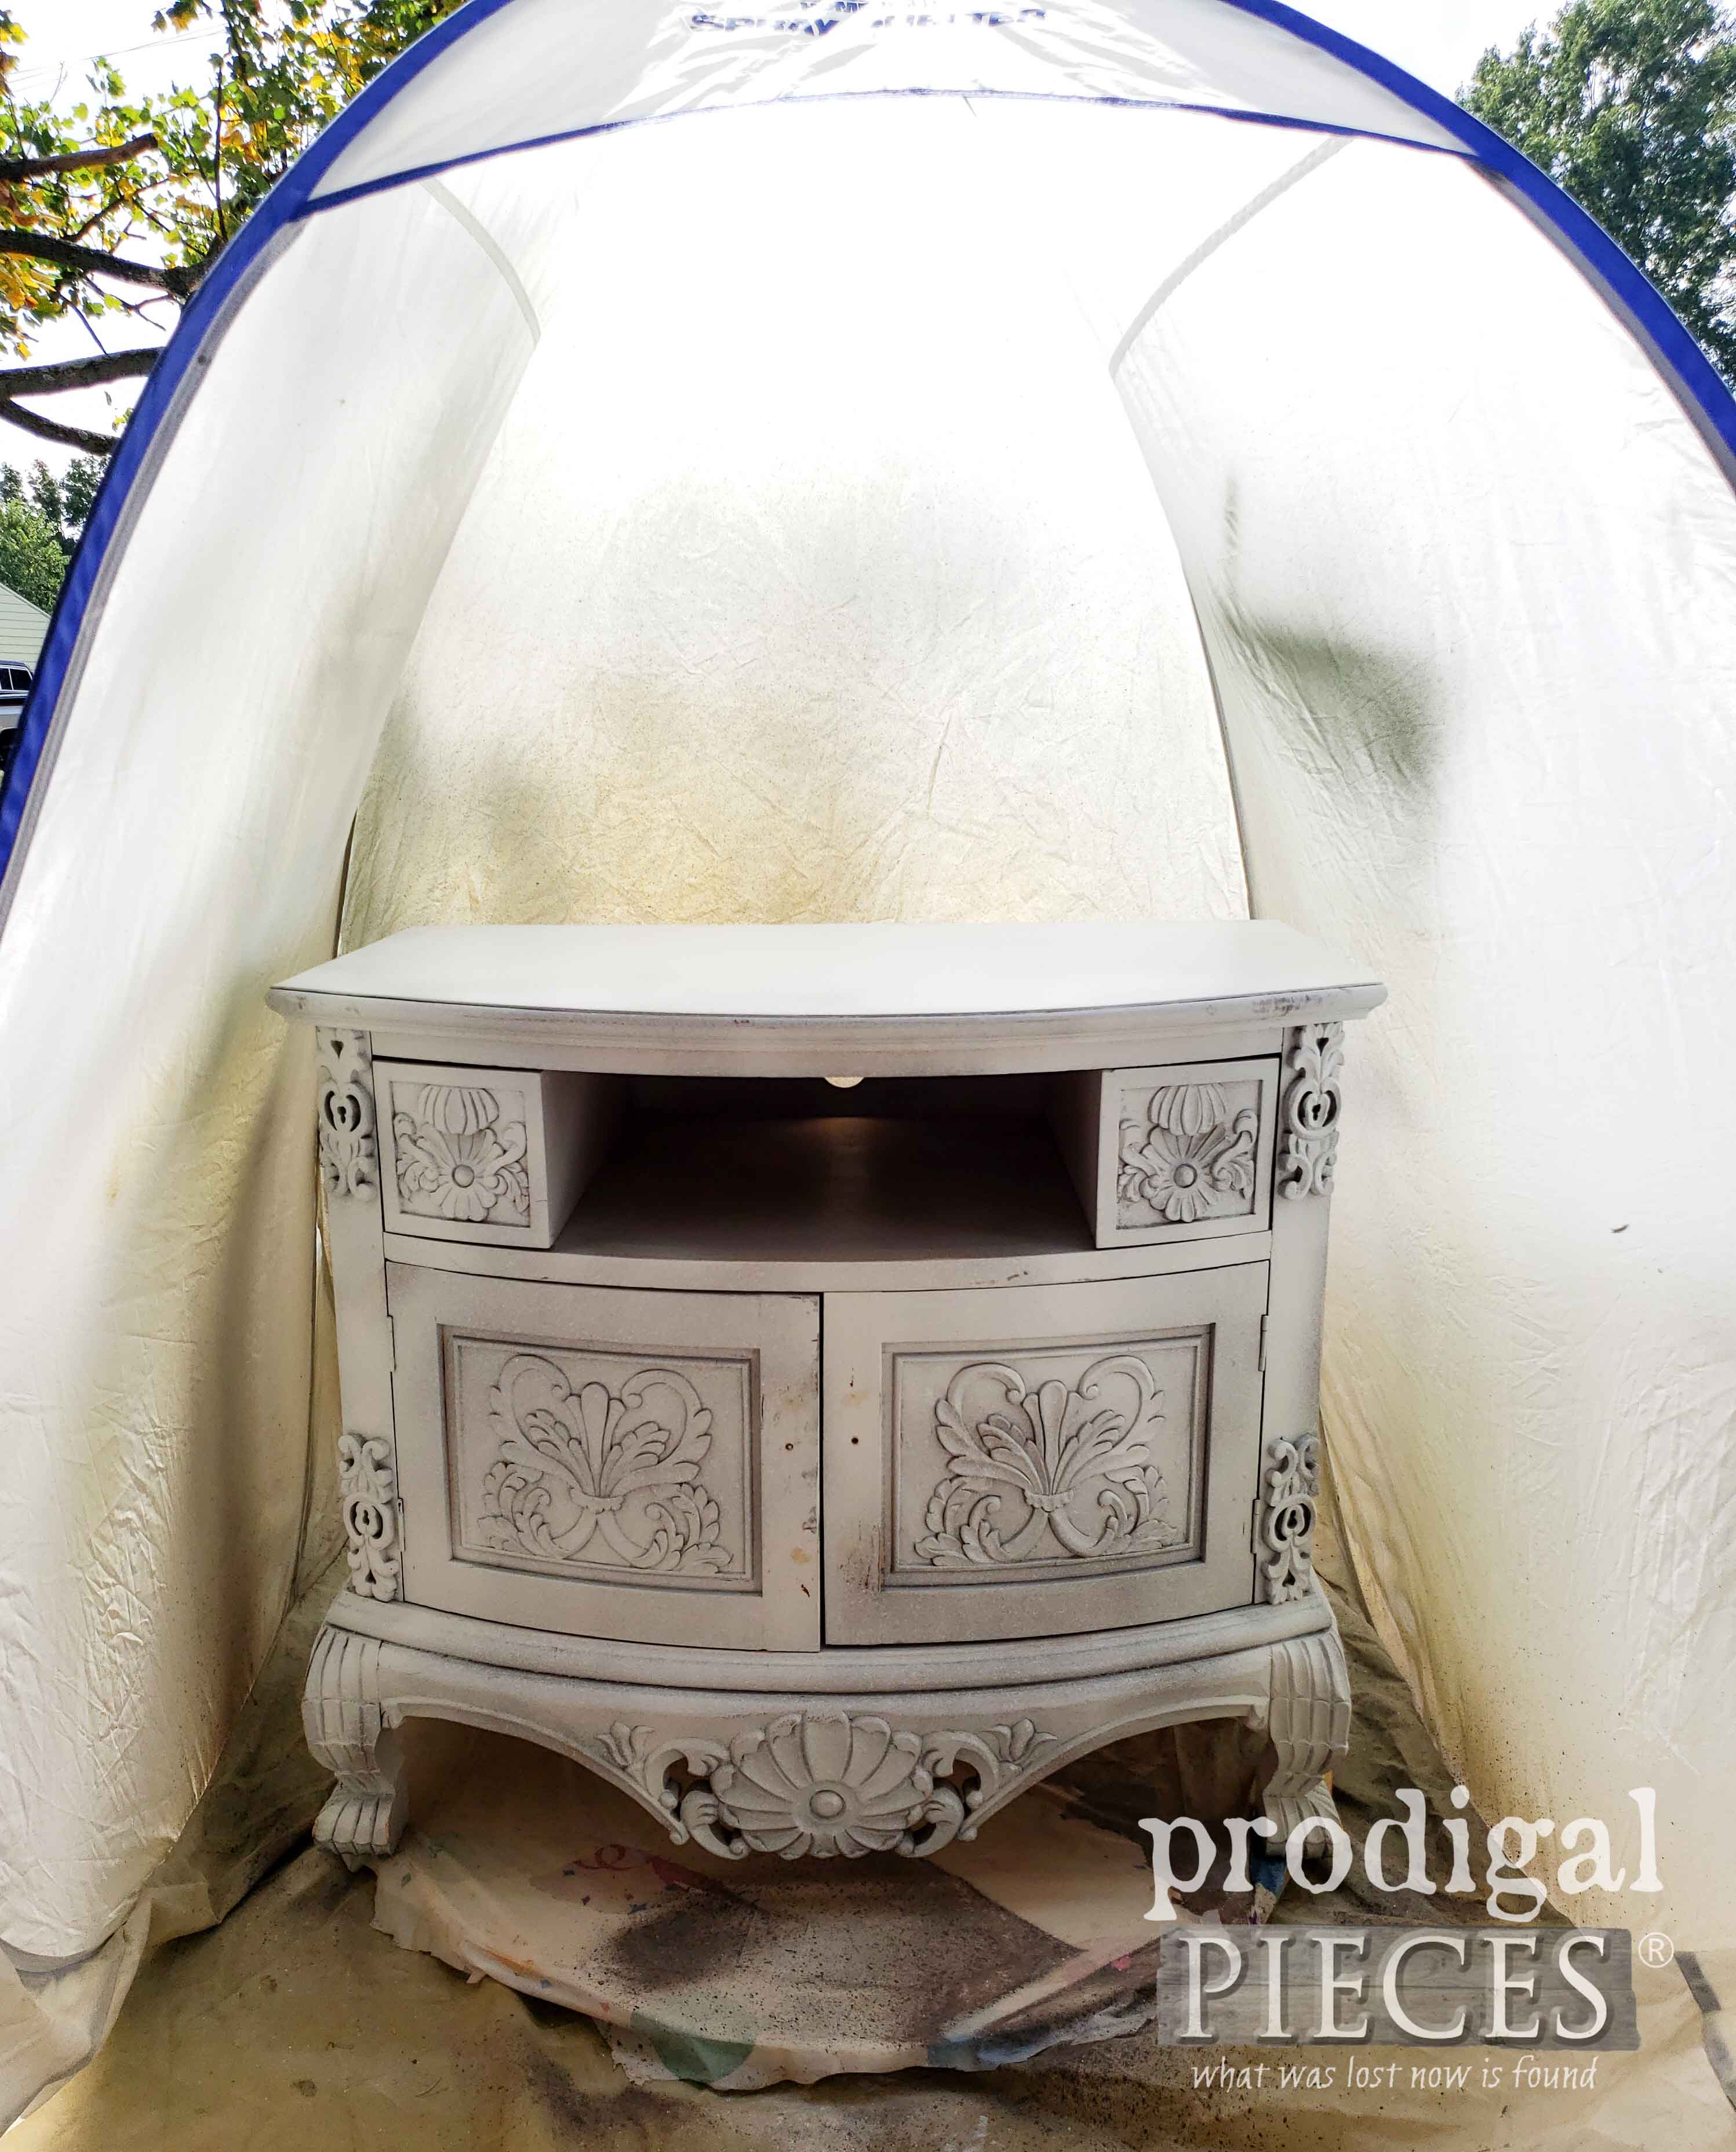
Next, once you have your primer coat on, be sure to let it cure properly. This is the perfect time to clean the sprayer and prepare for the next steps, which is paint. I'd say it's looking better already, don't you agree?
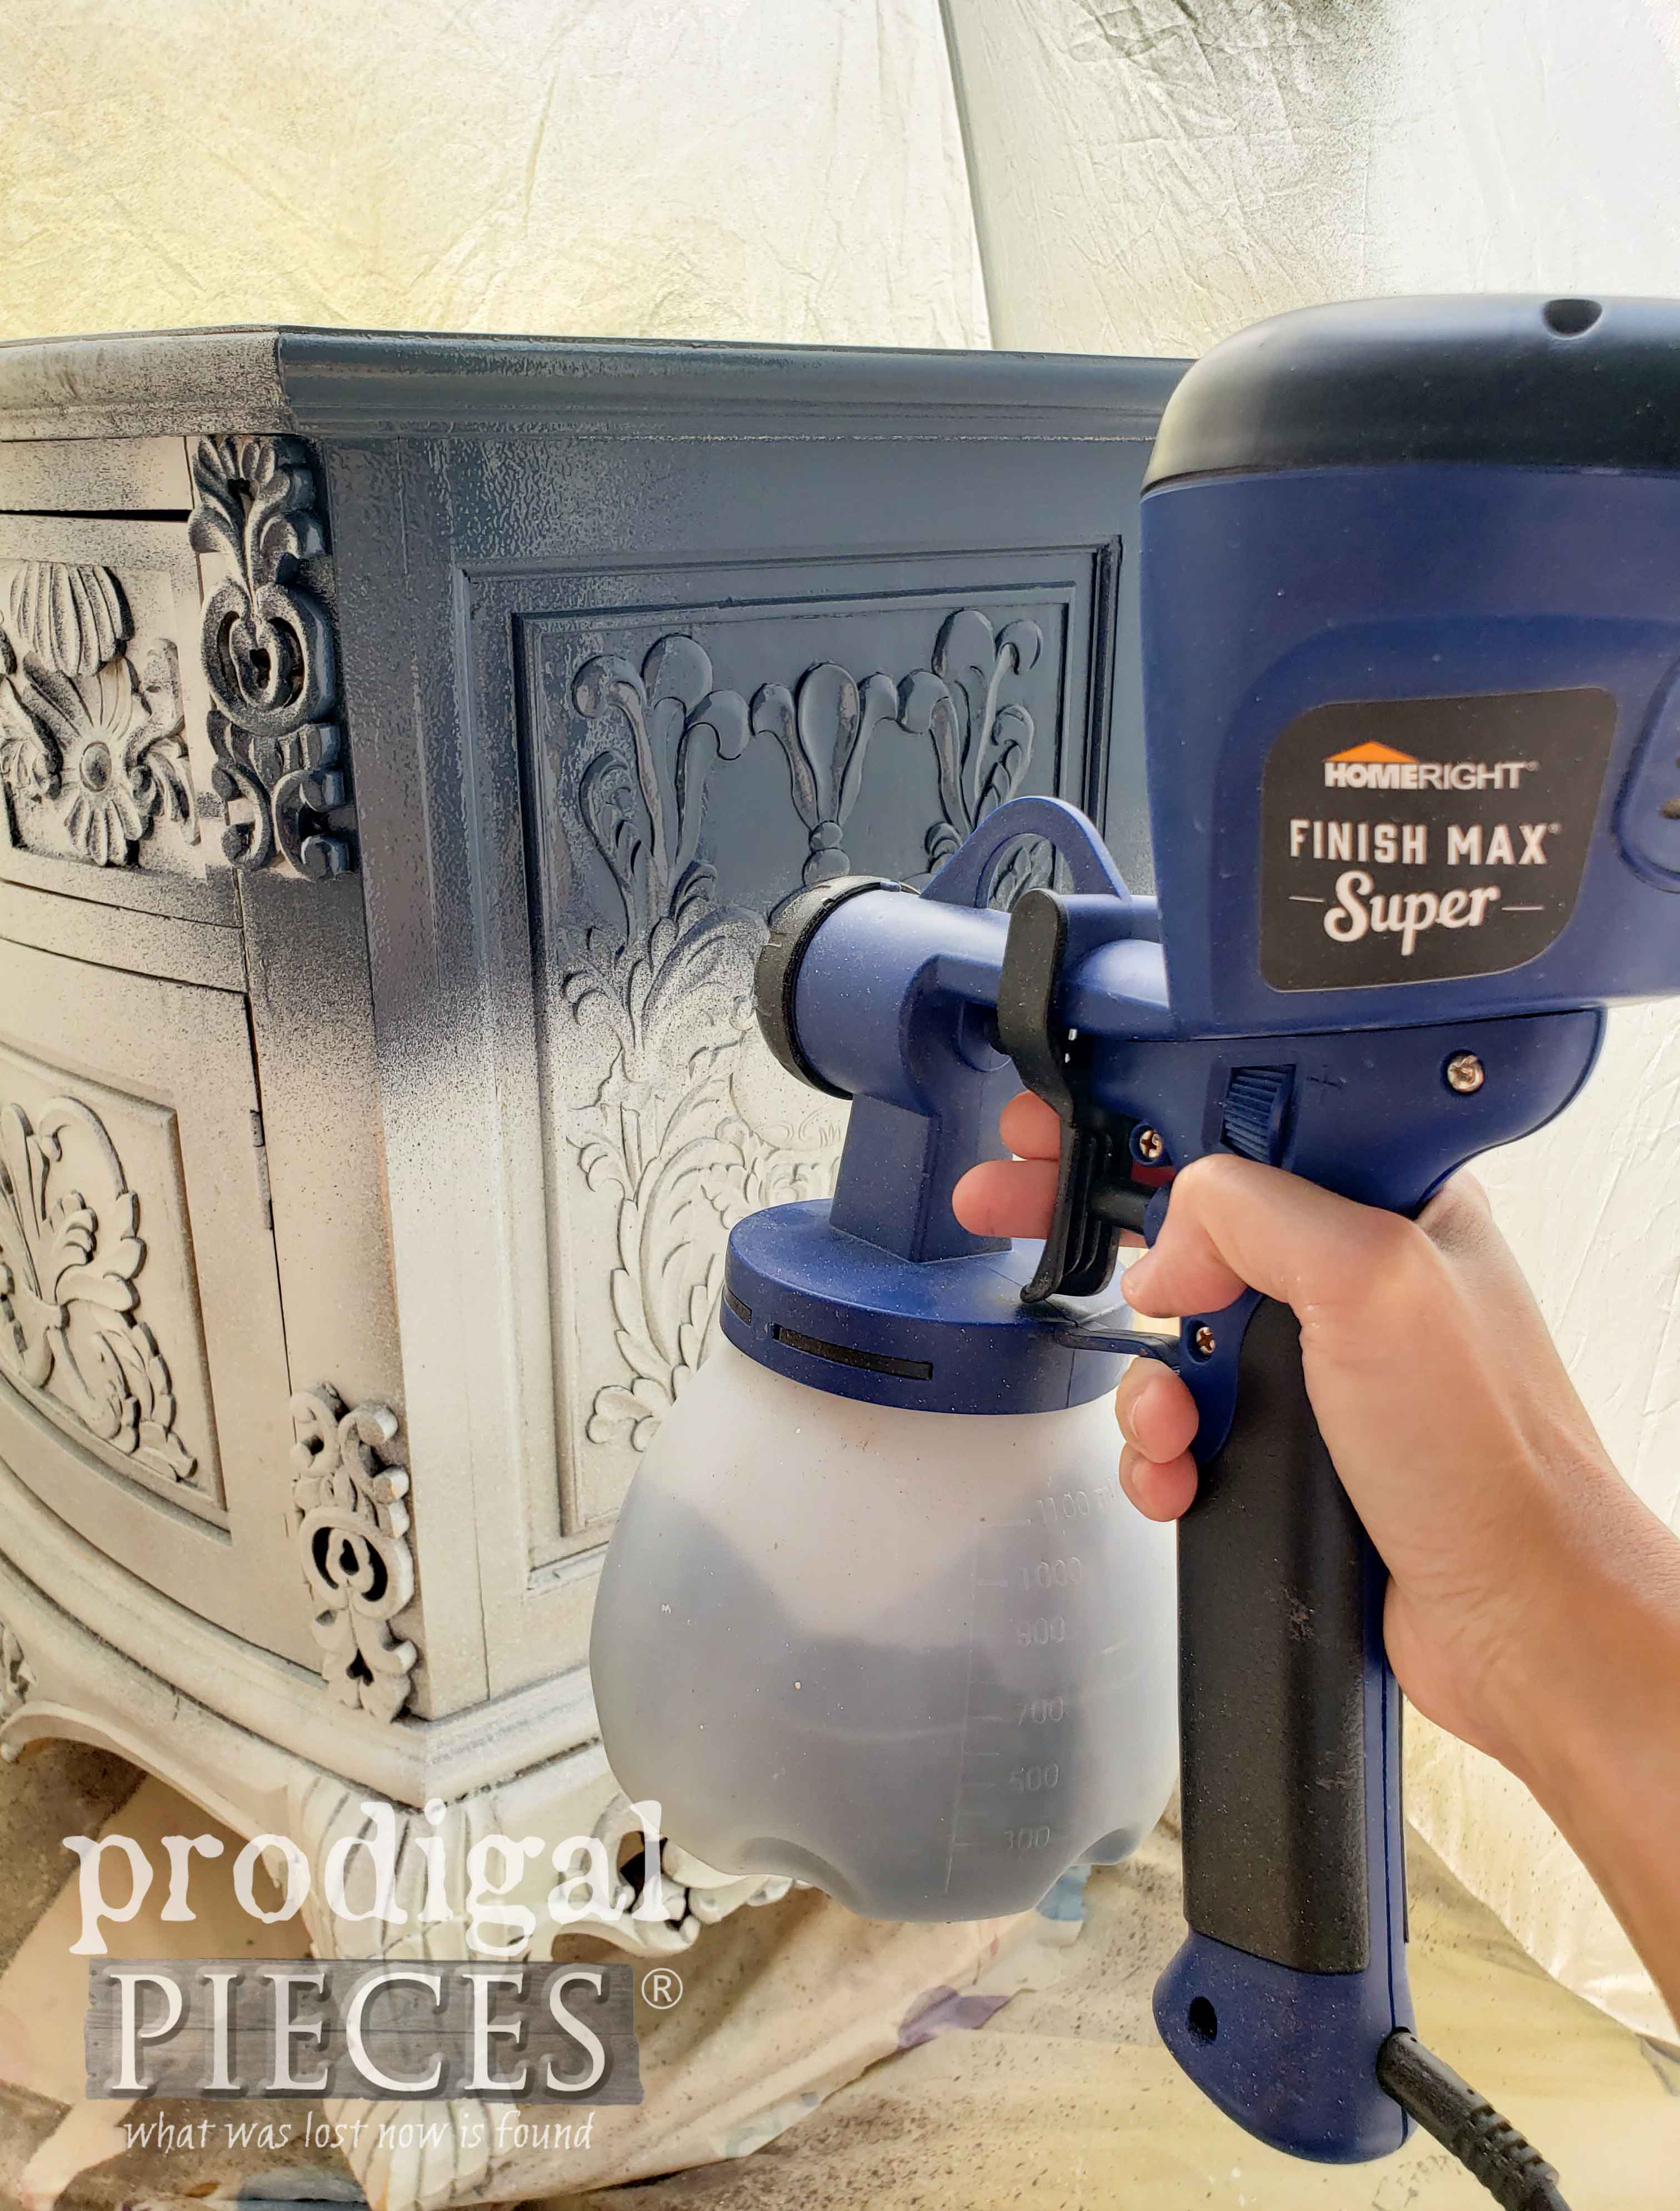
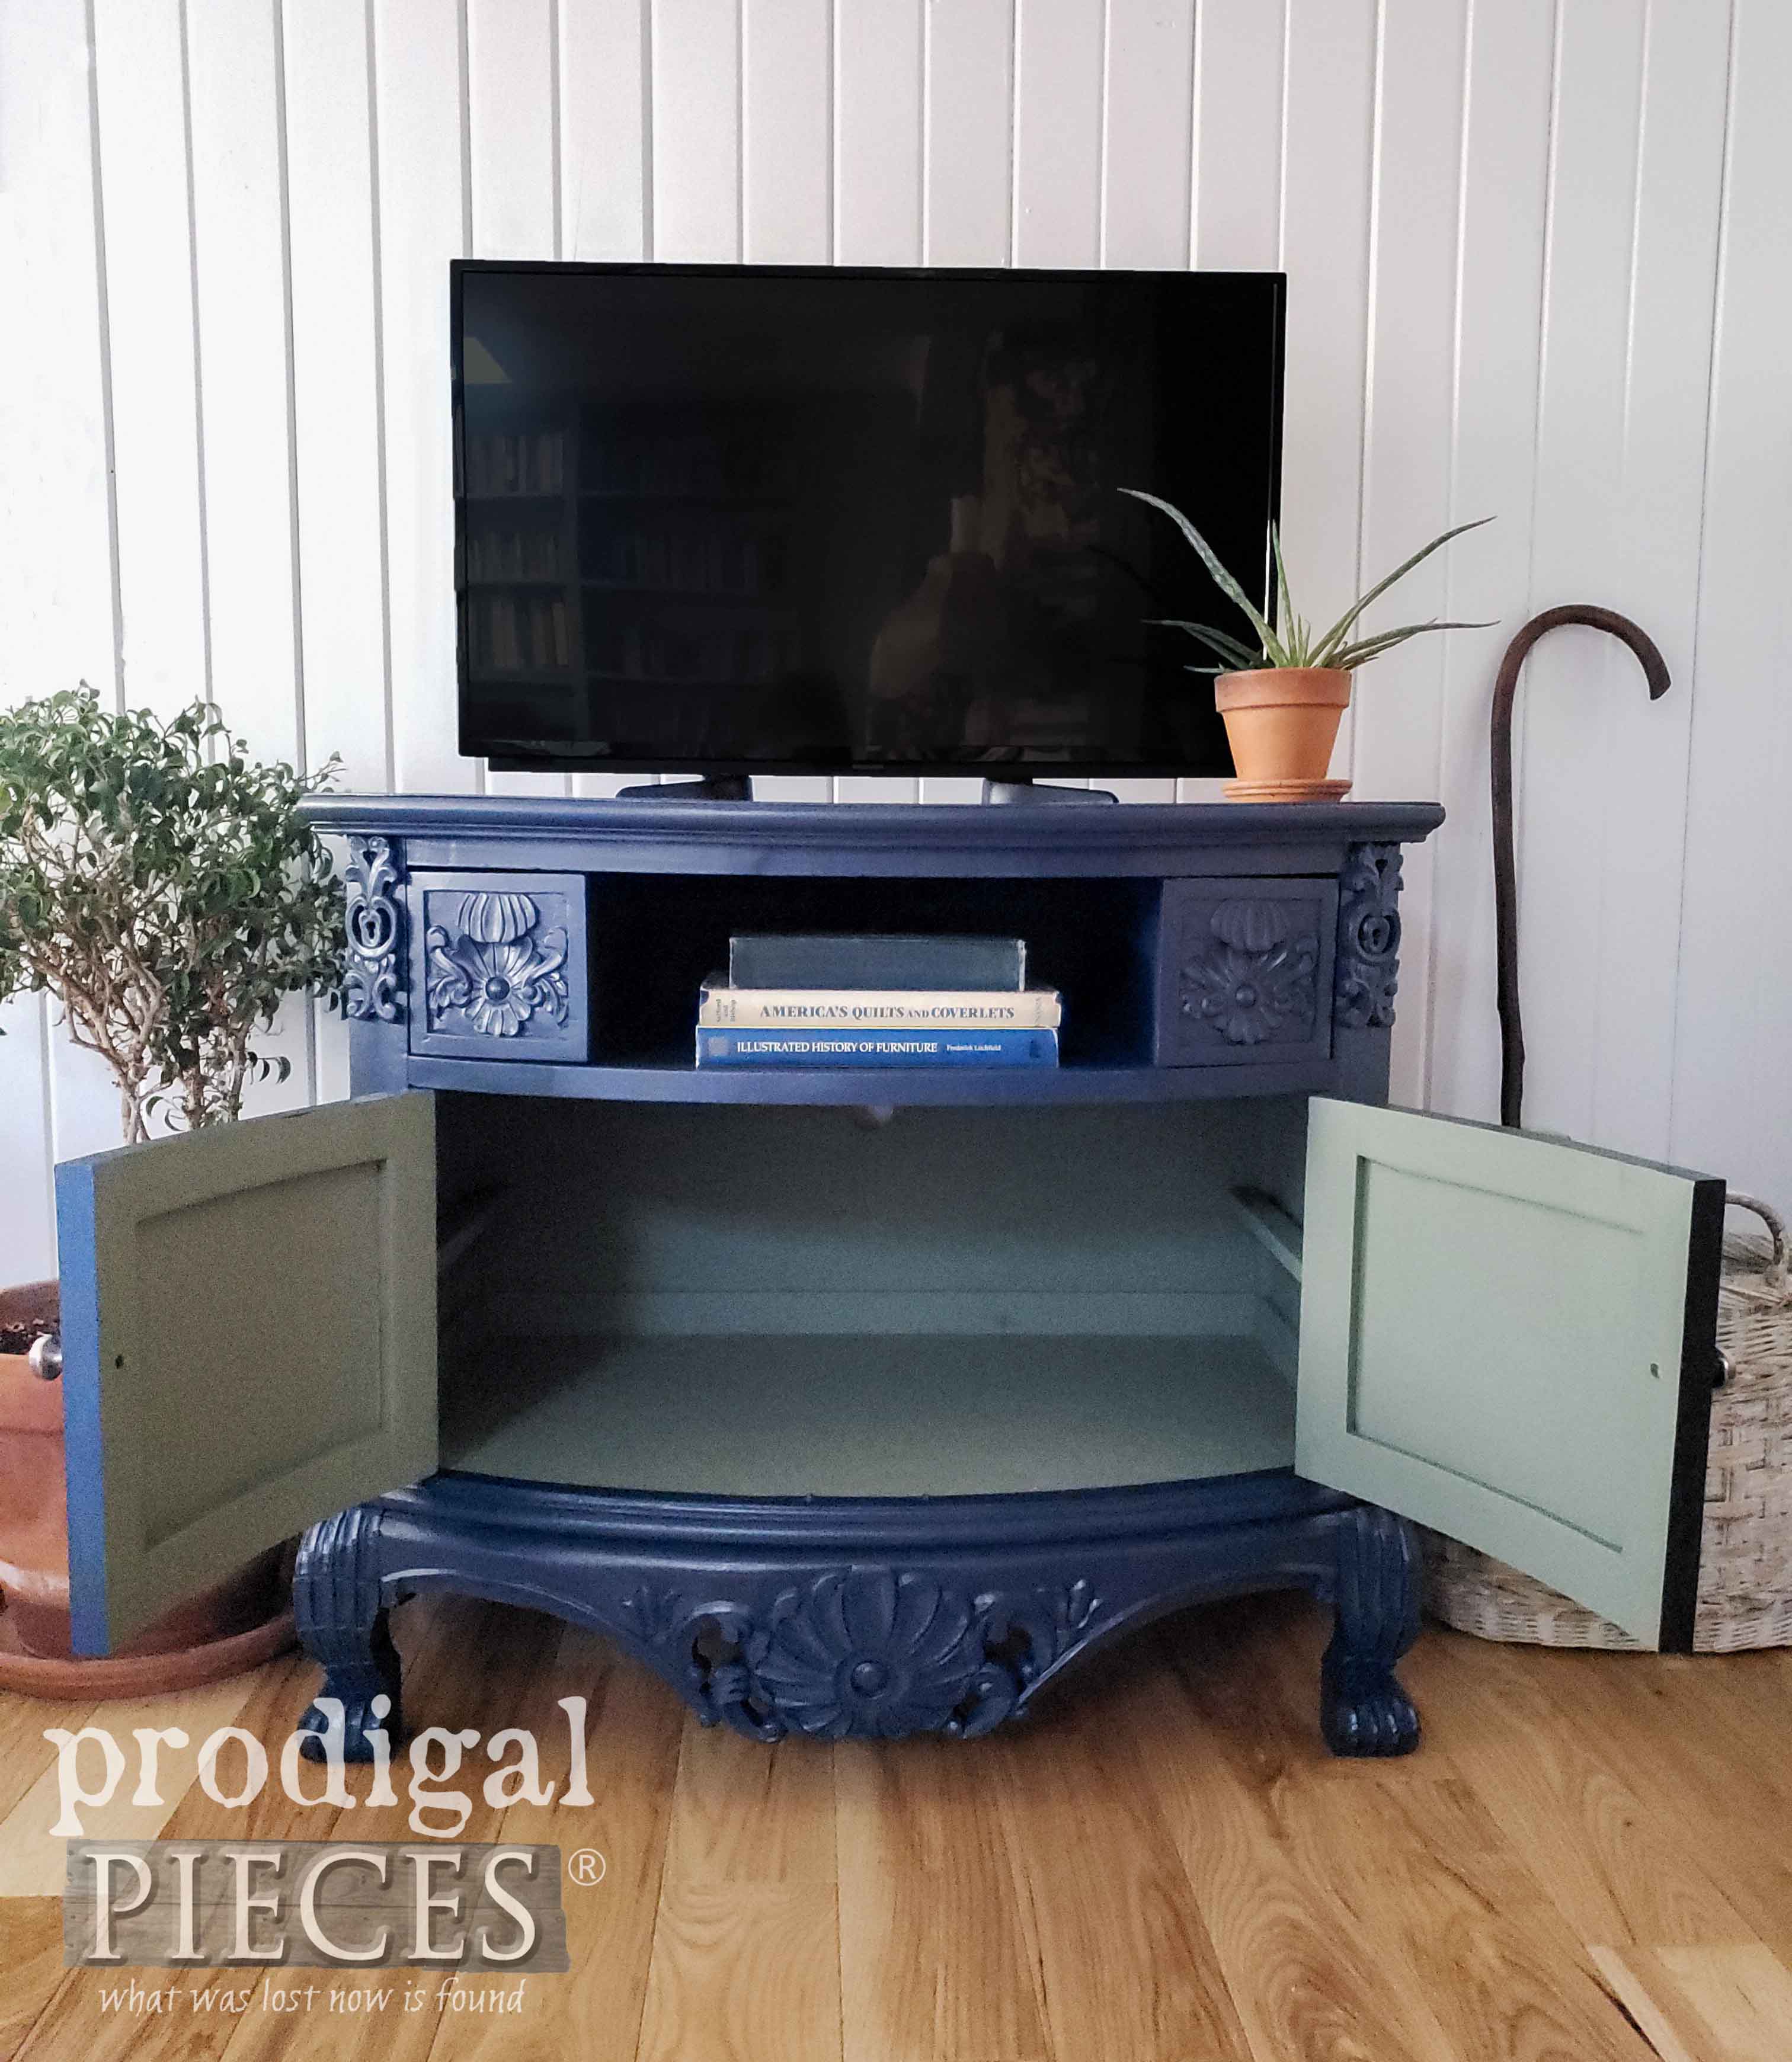
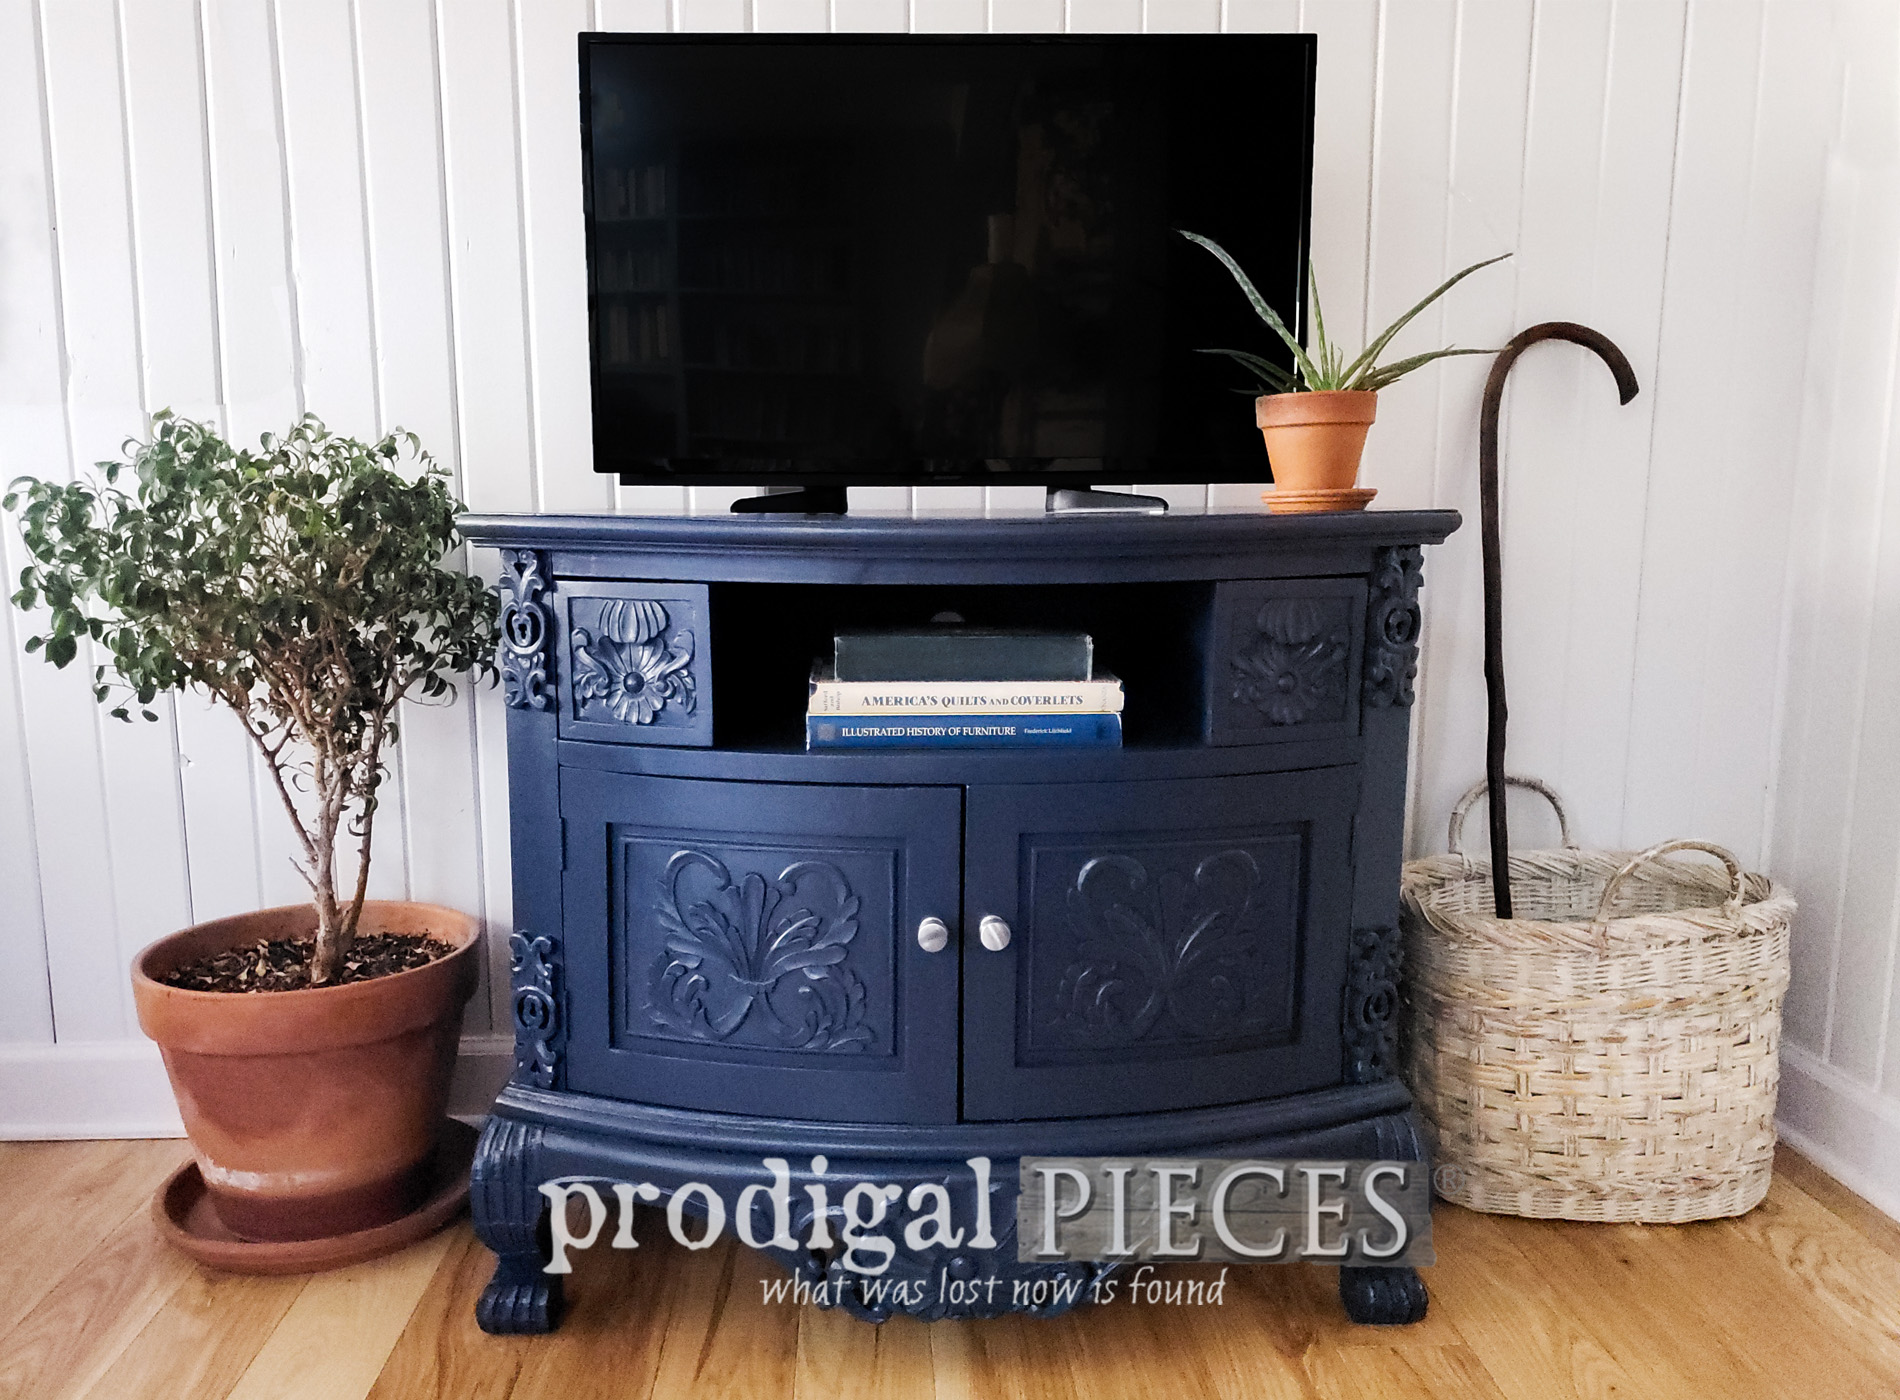
Time for paint! My client chose to use a Hale Navy blue in a satin finish. I couldn't be happier with her choice because blue has always been a favorite color of mine. The sheen she chose will also make all those details pop right off the surface. Exciting!
After two coats of paint, letting cure in between, our painted entertainment stand is now ready to go. I'm definitely pleased with it and my client is over-the-moon too. It sure looks like an entirely different piece. No drips or runs and a silky-smooth finish. The sprayer allowed me to get into those crevices no problem.
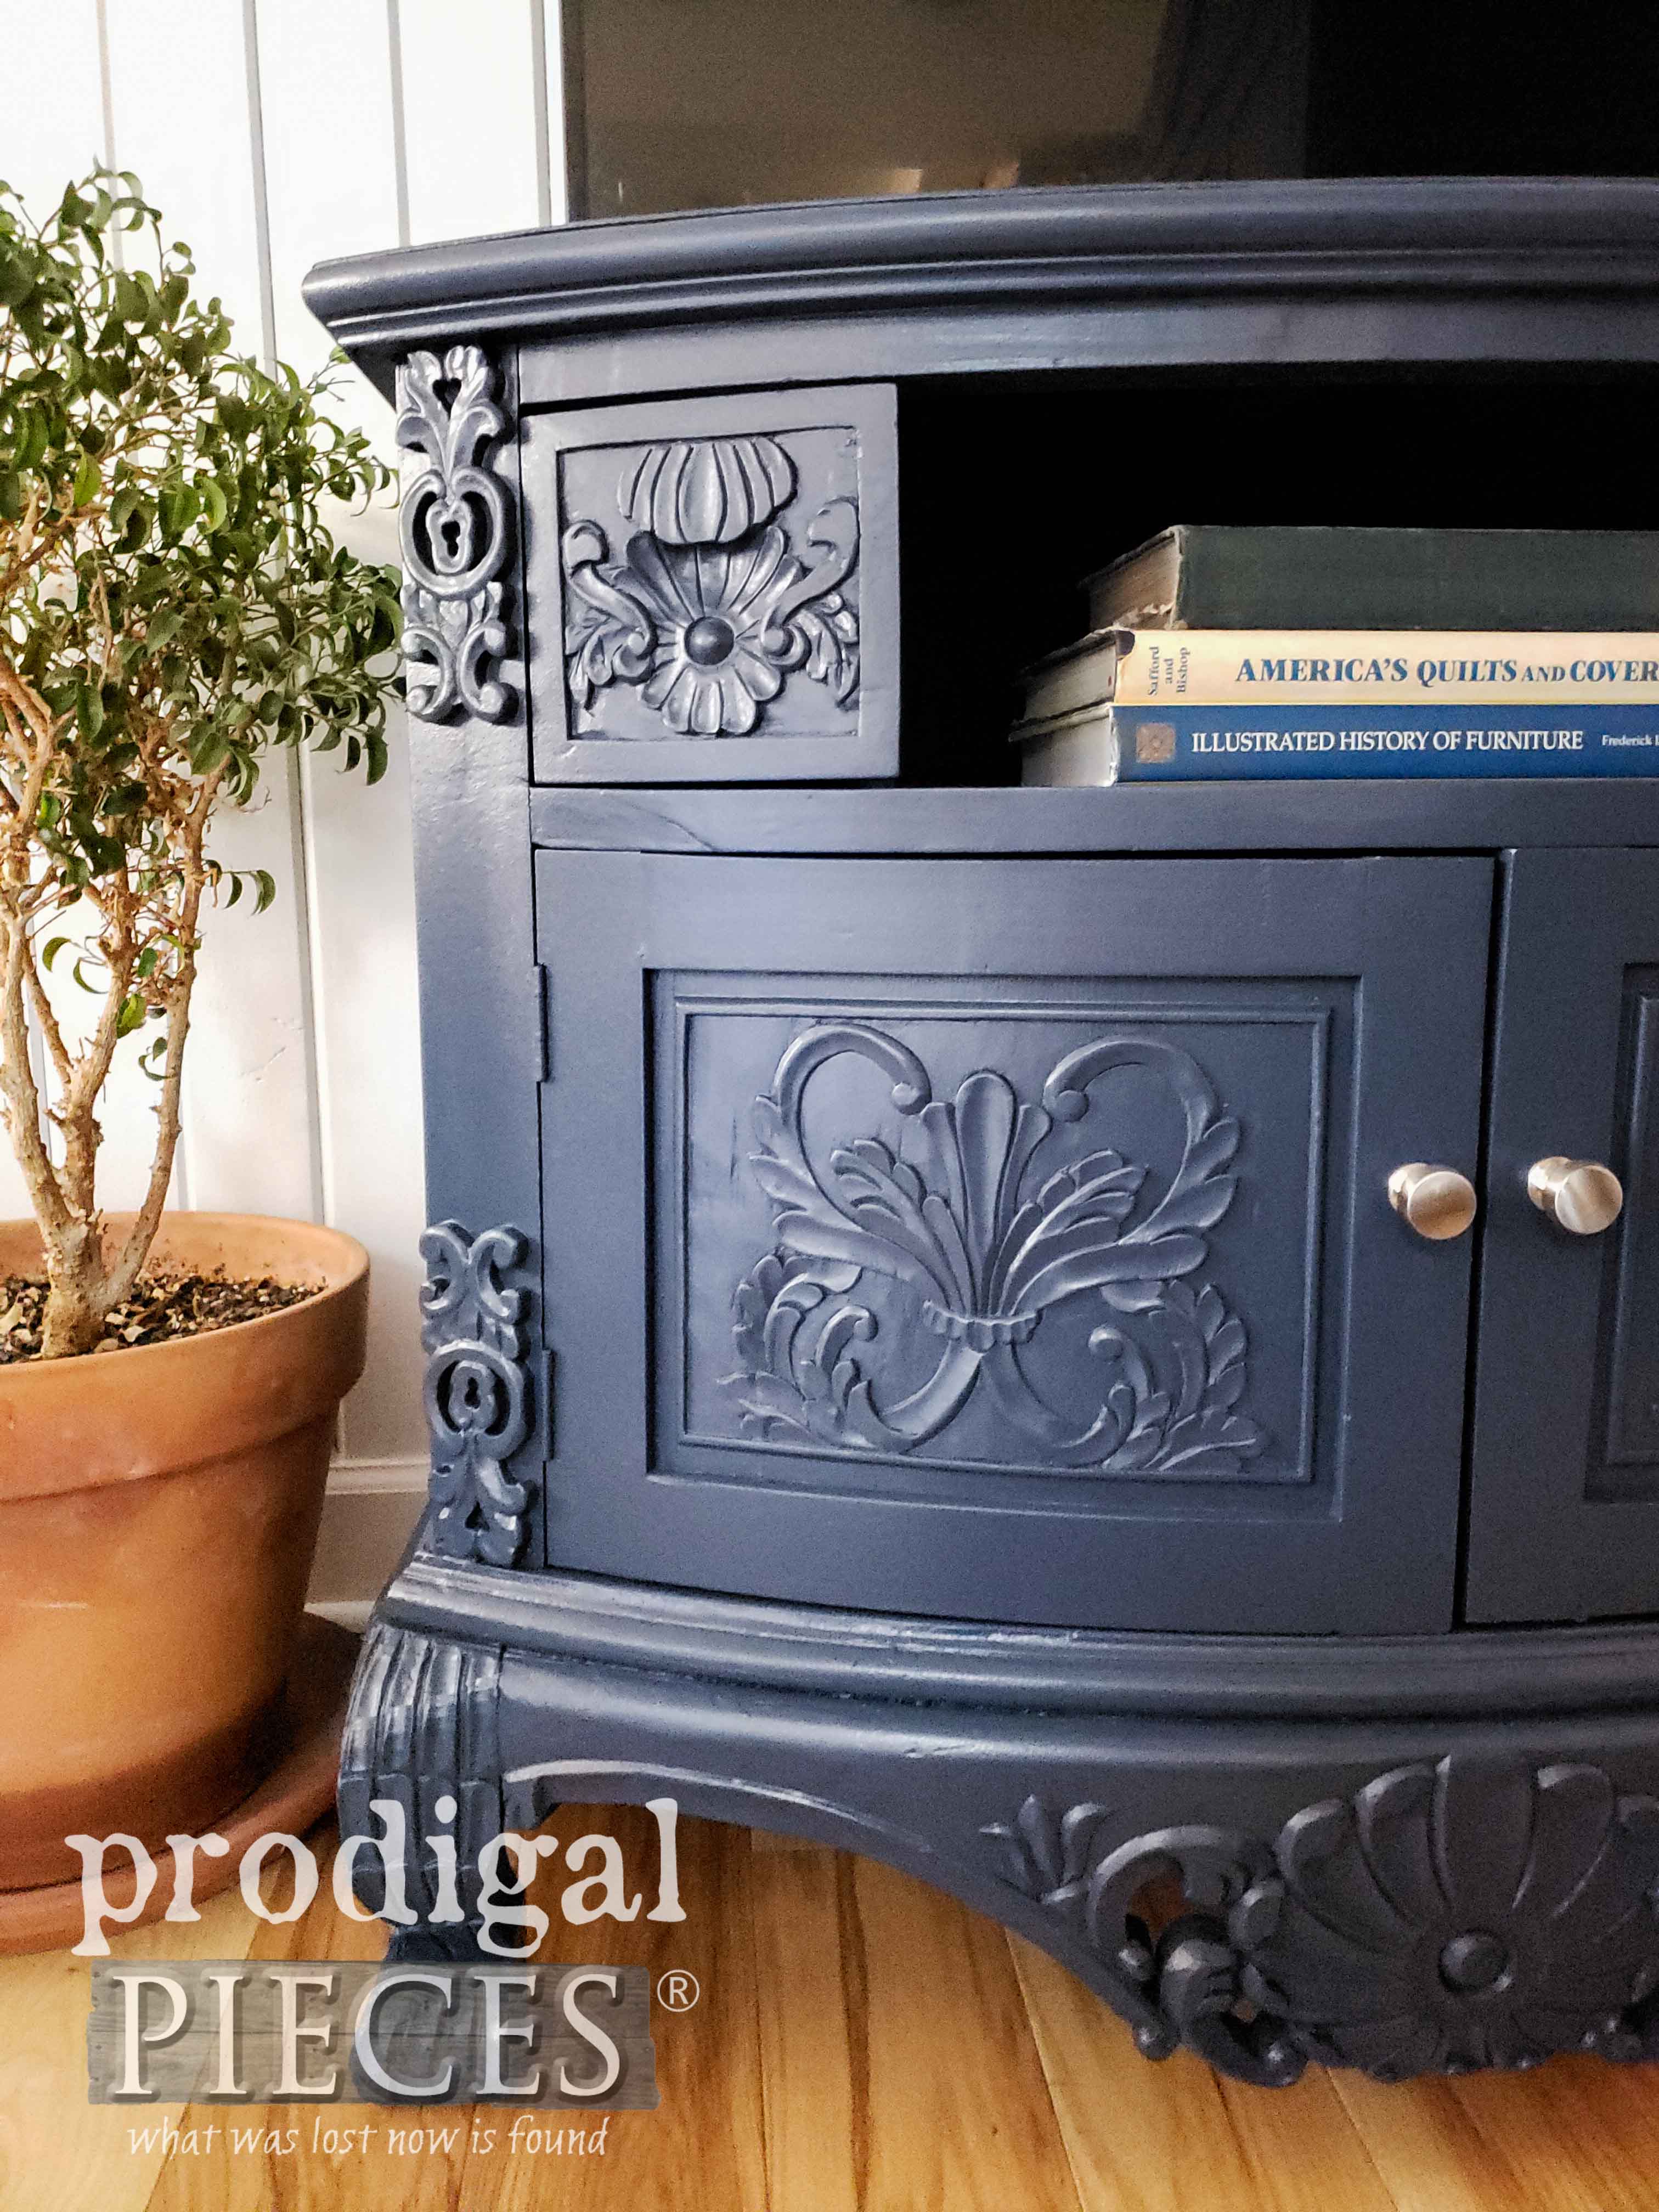
Also, I had fun giving the interior a little color contrast using a custom color I created. Peek-a-boo drawers and insides always make a piece spunky and adds whimsy.
My goal is to inspire you to give DIY a try. There's no need to break the bank creating your own home story. You can take what you already own and make it new with a few simple steps. I'd love to hear your feedback, so leave me a comment. Plus, be sure to hop on over to my blog, Prodigal Pieces, for more videos and tutorials for home, family, and more. Until next time!
This sponsored post was created by Prodigal Pieces. Head to the blog for the full post and details.
Download project steps & shopping list
We'll never share your email with anyone else.