Metal Garden Bench
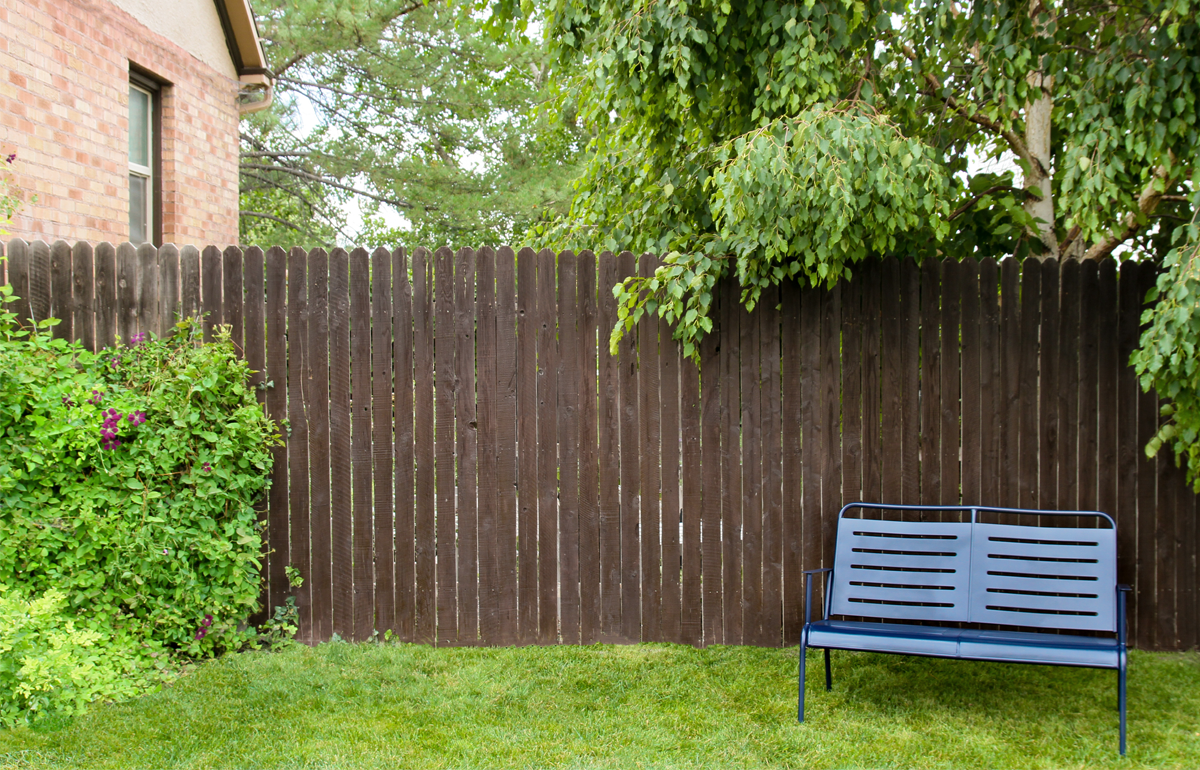
Learn how to paint and update an outdoor, metal garden bench to match the rest of your decor using a HomeRight paint sprayer.
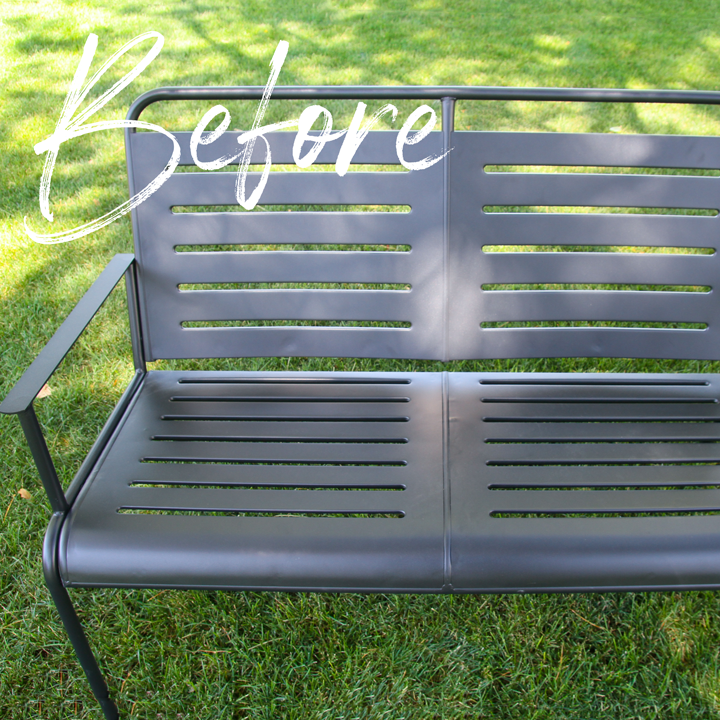
Last year we re-landscaped our front yard and got rid of one of our flowerbeds. Now that the grass seed has filled in nicely, that area was just begging for a garden bench. I found one that I loved except the color didn’t match the planters in our yard, so I gave it a little makeover!
The bench I found was metal. Painting metal can be tricky because if you don’t take the proper steps, the paint job won’t last long. Since this bench will be outside and get sprayed with sprinklers often, I really wanted to make sure I did a good job. Here are my best tips for painting metal!
Tip #1
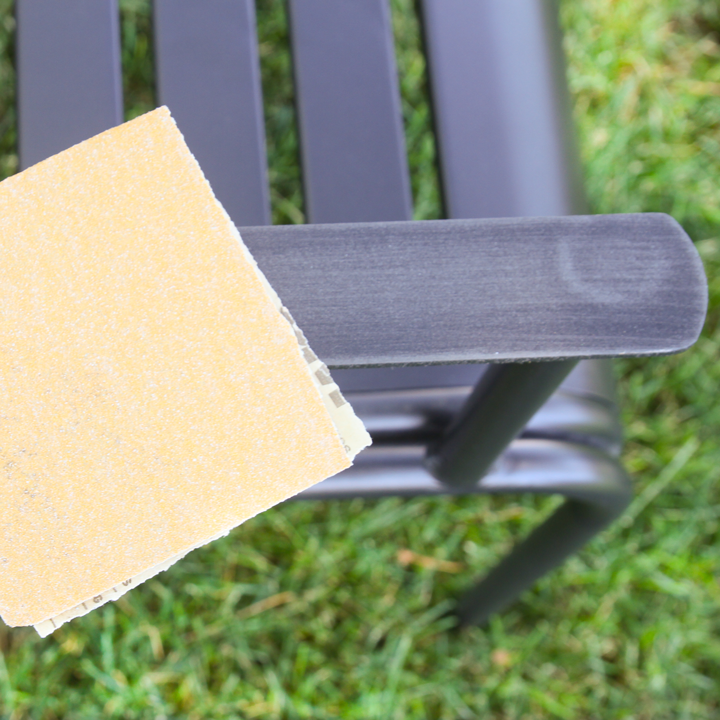
When prepping anything for paint, I think it is a good idea to lightly sand it. It helps gives the surface a texture that the paint can grip.
Tip #2
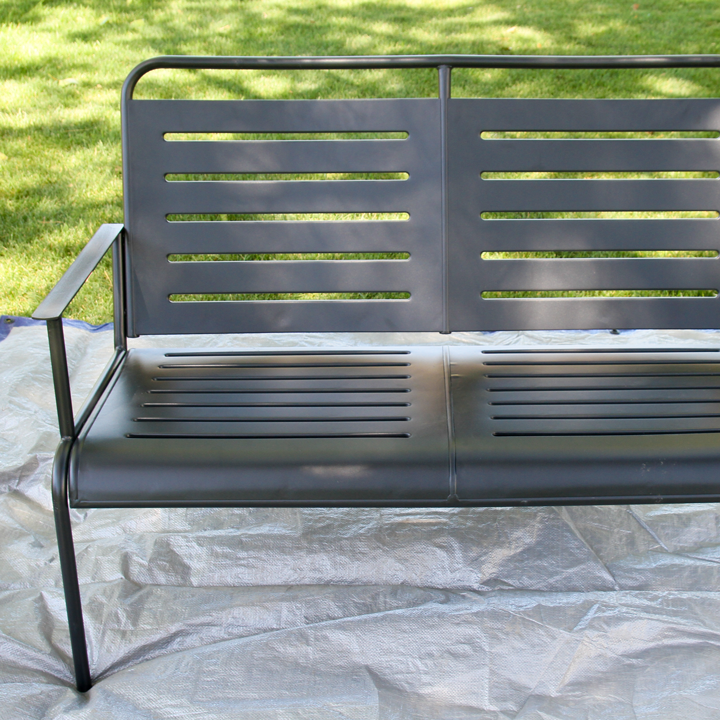
Put your project on a tarp to protect your work area. Even though this time I did it on my grass, I still didn't want to live with painted grass until the next time I mow. Plus, the tarp protects my project from getting dirt or grass on the wet paint.
Tip #3
Don't paint metal outside when it is hot. When metal is in the sun it heats up and if you apply paint while it is hot, the paint can bubble. If you are doing a project during the summer like me, find a shaded spot and/or do the project in the morning or evening when the temperatures are cooler.
Tip #4
Put scrap wood under your project so it is elevated up off the tarp a bit. This will keep your project from sticking to the tarp. If you have ever skipped this step, you probably have gone to lift your project off the tarp and took a large, thin layer of paint off the tarp with you.
Tip #5
Use an oil-based paint. I have used water-based enamels for metal before but only if the piece was going to be used indoors and if it wouldn't get lots of wear and tear. Since this bench will get sprayed by sprinklers and get lots of handling, it needed an oil-based paint.
Tip #6
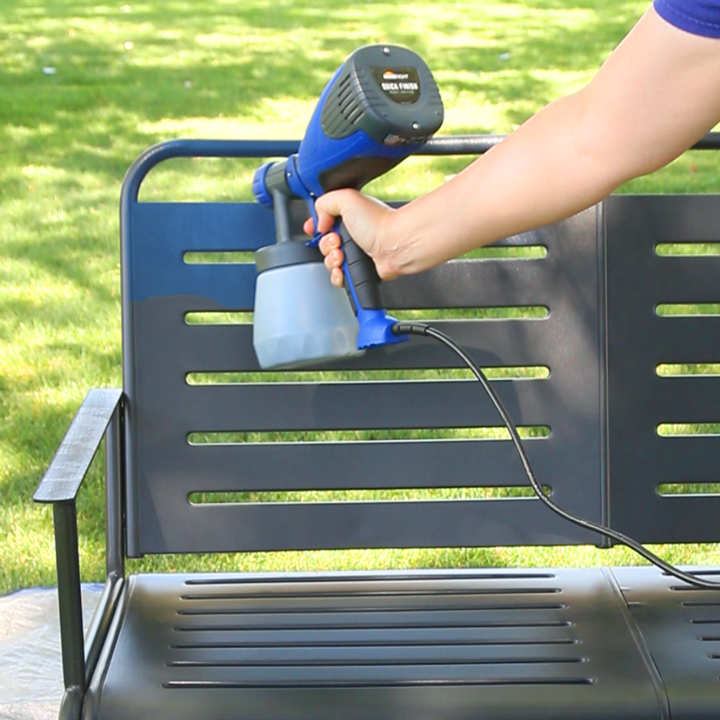
Use a quality paint sprayer to apply the paint. I used the Quick Finish Sprayer from HomeRight because of how easy it is to clean. With the Quick Finish, all the washable parts detach from the non-washable motor. GENIUS!
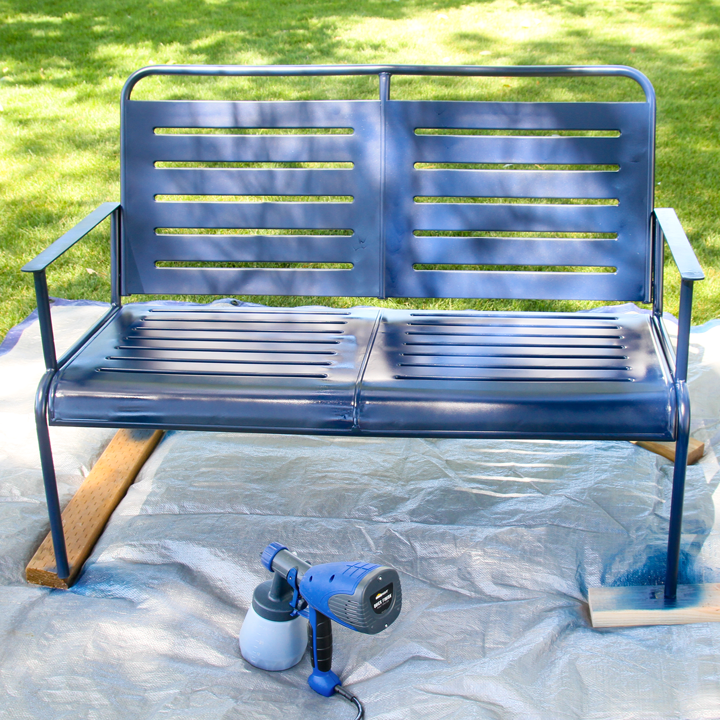
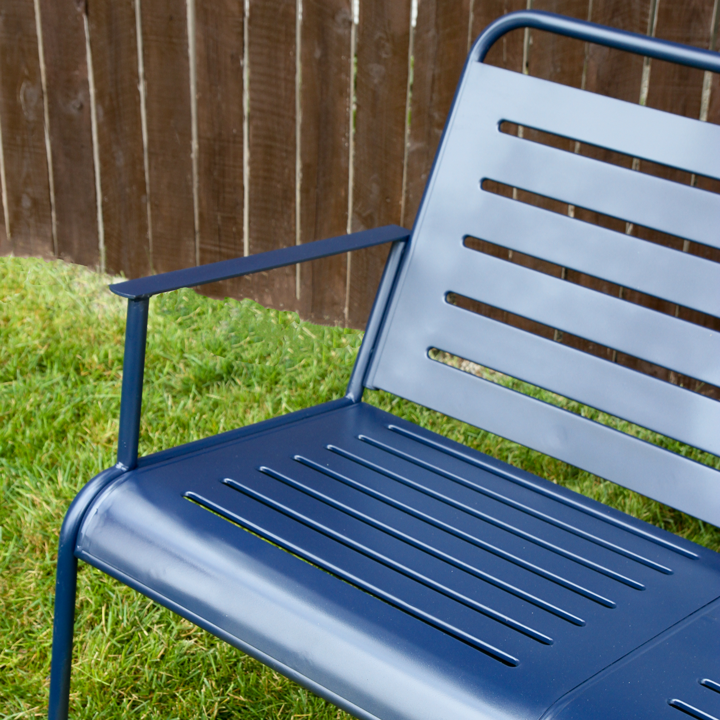
I love the smooth finish of the navy paint! It looks good in its new home on the front lawn.
This sponsored post was created by Not Just a Housewife. Head to the blog for the full post and details.
Download project steps & shopping list
We'll never share your email with anyone else.