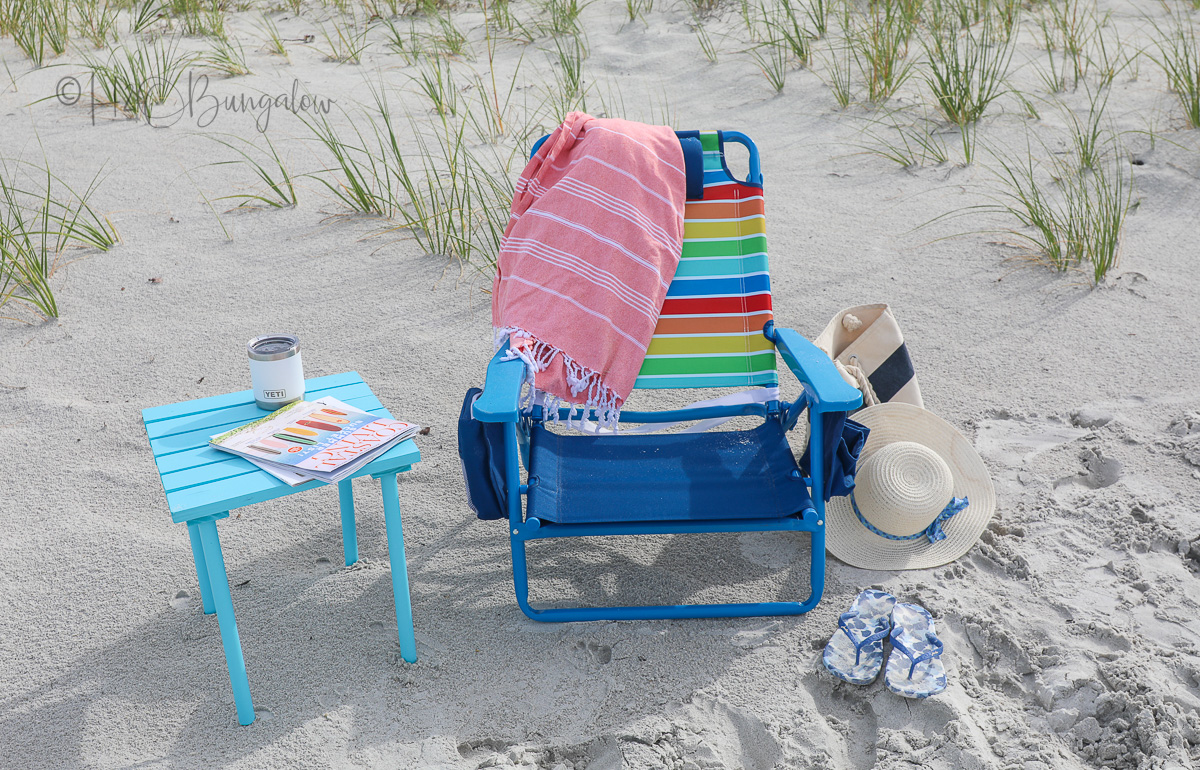
DIY Portable Folding Table
Create a wooden portable folding table to bring to the beach or camping. Apply a smooth finish using the HomeRight Quick Finish sprayer.
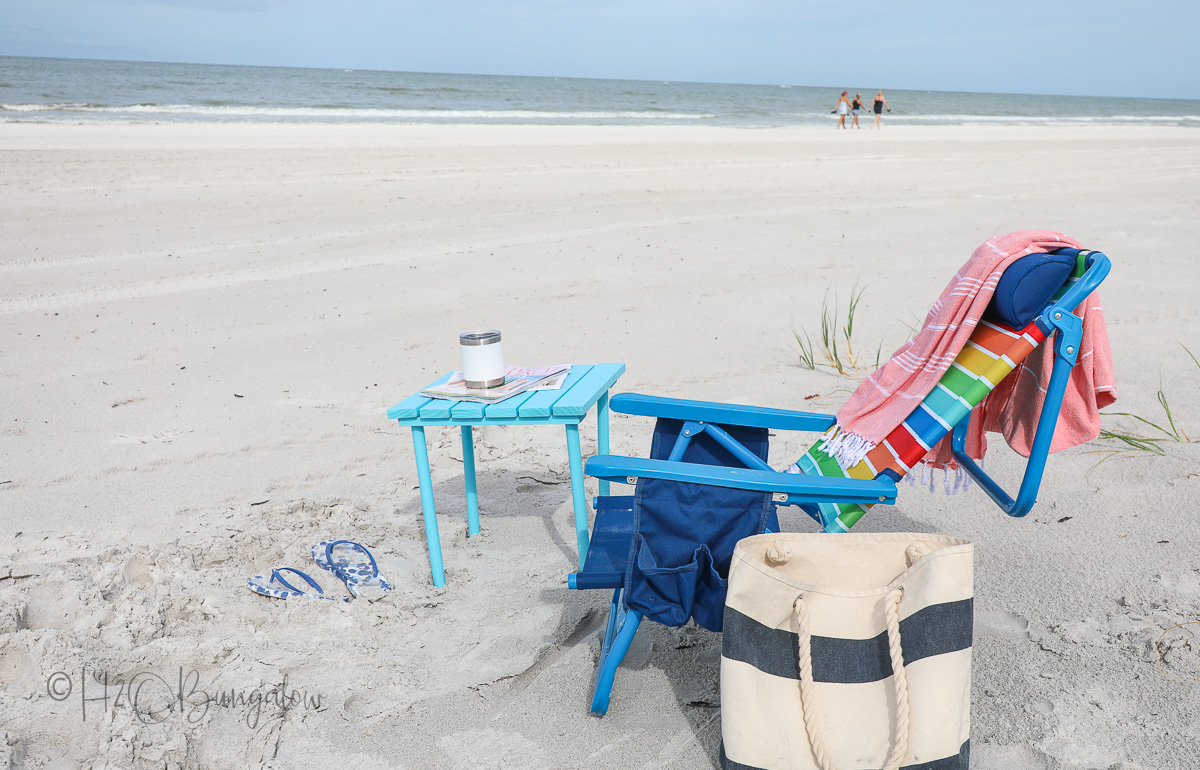
Hi I’m Wendi from H2OBungalow.com. Days at the beach just got easier now that we have a small portable table that folds up to fit in a beach bag and put together easily. We are loving my DIY folding table for all sorts of on-the-go outdoor activities this summer!
I’ve made a video to show the steps and you’ll find basic instructions below. If you need a more detailed version of the tutorial with it can be found on my website at H2OBungalow.com.
Supplies needed to make a portable table:
- 1 x 3” pine select @ 11 feet
- 1” Wood Dowel @ 5 feet
- 4 – 5/16” Hanger Bolts, 2” long
- 4 – Hanger Bolt Threaded Inserts
- Nylon Webbing
- HomeRight Quick Finish Paint Sprayer
- Wagner Medium Paint Shelter
- Paint, I used Paradise Sky in a latex, satin finish from Home Depot
- Dropcloths
- Miter Saw
- Drill
- 1” Forestner Bit
- Electric Stapler
- 8mm Hex Wrench
- Sander
- Eye protection
- Respirator
Step 1
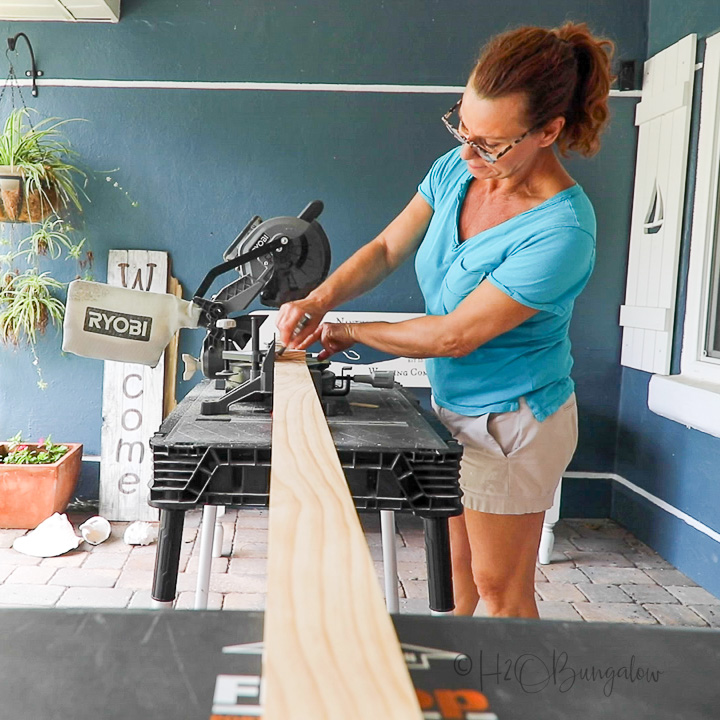
Cut wood to size. Cut 12 lengths at 15 inches from the 1 x 3” pine board. Cut 4 legs from the 1” dowel to 15 inches each.
Step 2
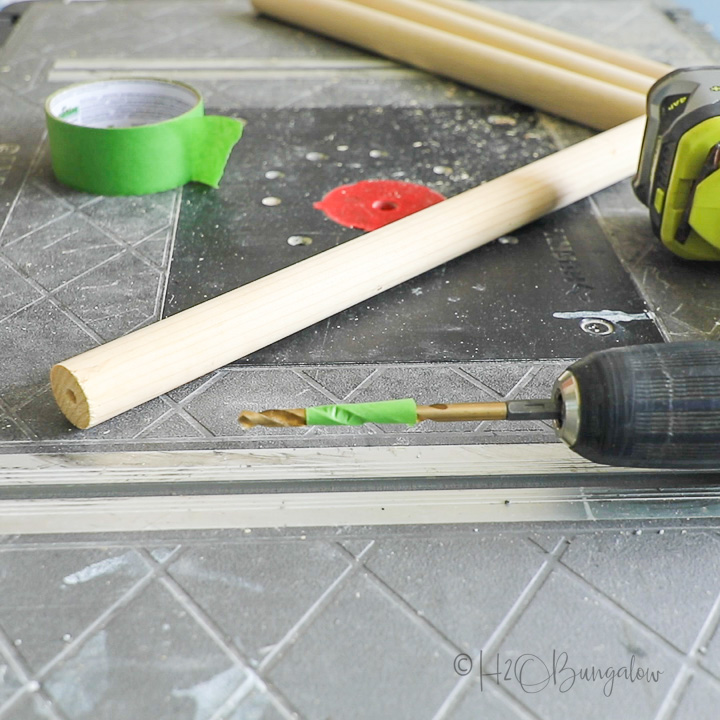
Build legs by drilling a hole 1” deep with a 3/8” drill bit. I used painters’ tape to mark the depth I needed to drill. Place the flat end of the hanger bolt into a drill chuck and slowly screw the bolt into the pilot hole to 1” depth.
Step 3
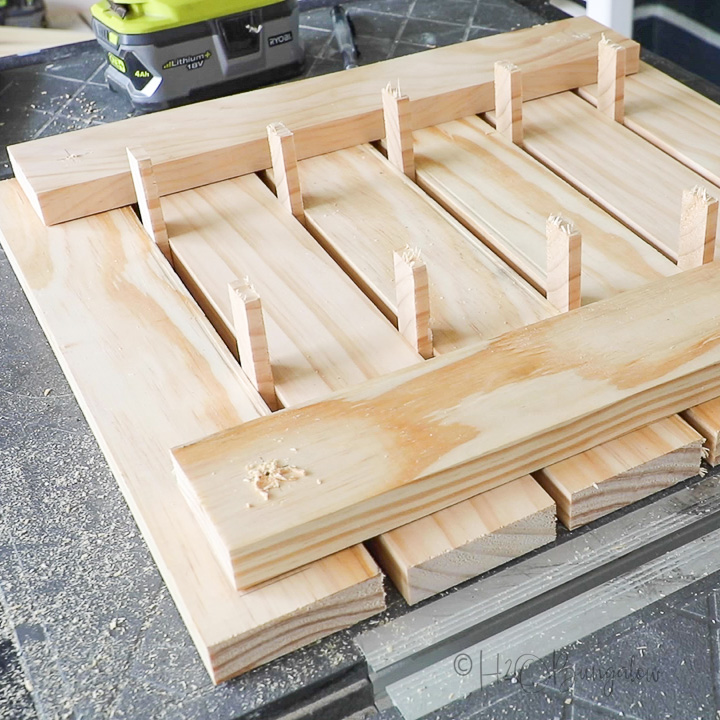
Build table support next. Cut ten ½” wide spacers from leftover wood and place them between six tabletop slats. Set two slats across the tabletop, each positioned 5/8” from the sides and ends. Mark the center of the support bar at each end and drill a pilot hole through the support and ½” into the tabletop.
Step 4
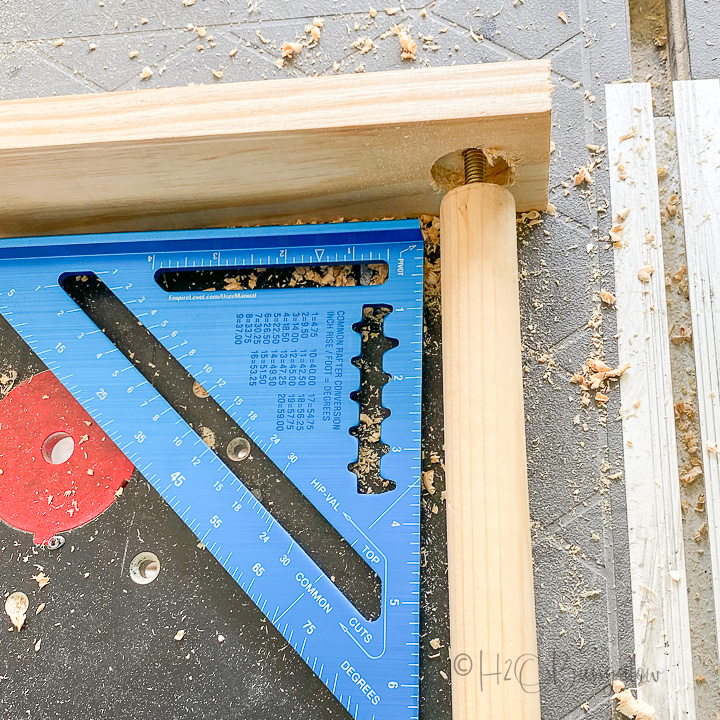
Use a 1” Forstner bit to hollow out a ½” deep recess over the drilled hole on all four of the support slats. The hanger bolt from the legs will fit through the hole with the dowel resting inside the hollowed-out section.
Step 5
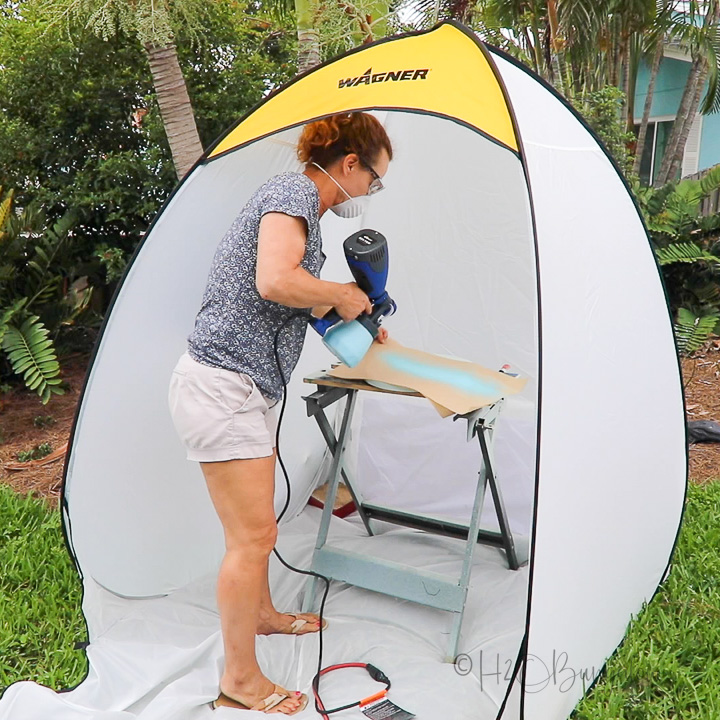
Use a Quick Finish and Medium Paint Shelter to paint the table pieces before assembling. Here’s a few of my favorite painting tips.
- Mix latex paint with water to the consistency of pancake batter for best results.
- Plan ahead where the painted pieces will be placed to dry before starting.
- Always do a few passes to test the paint flow before starting a project.
- Use a lazy susan when painting to spray an even coverage of paint by spinning it while spraying.
- Elevate the table slats on another board when painting and drying.
- Thin coats of paint are best.
- Paint both sides allowing each to dry before turning over. Apply two coats of paint.
- Run water through the Quick Finish between coats of paint so the paint doesn’t dry in the spray nozzles.
Step 6
Screw the hanger bolt threaded inserts into the predrilled holes on the two support slats with an 8mm hex wrench. Don’t over tighten them.

Step 7
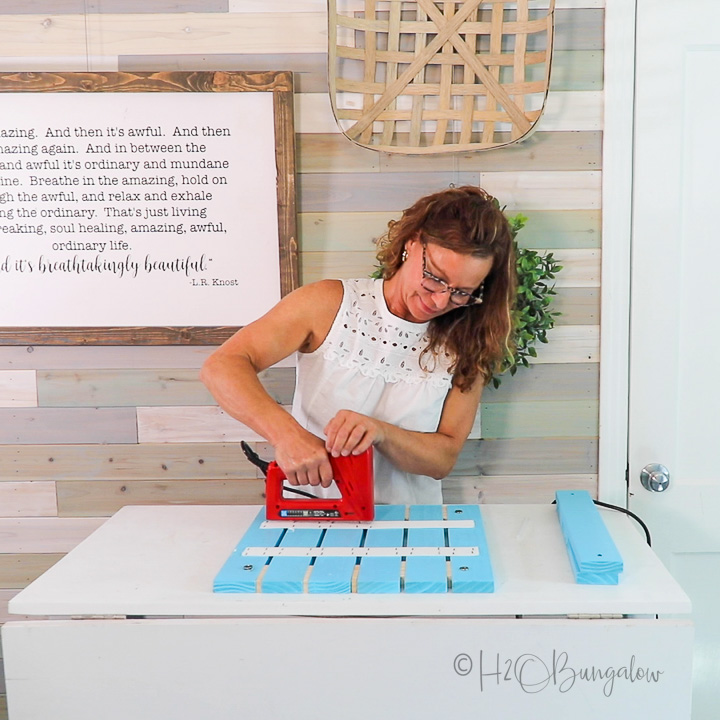
Lay the tabletop slats face down on a flat surface with the two a boards with the threaded inserts at each end. Use the same ½” spacers between each. Cut two 13 ½” strips of nylon webbing and singe the edges with a lighter so they won’t fray. Lay the webbing across the slats 4” in from each side and attach with an electric stapler. Remove the spacers.
Step 8
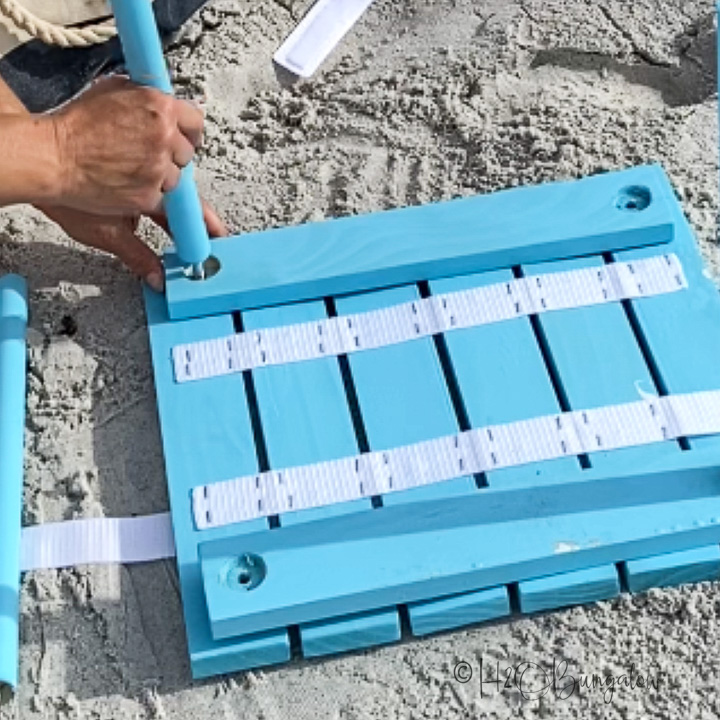
Assemble the table by laying the tabletop face down on a flat surface. Attach the two support slats at each end by placing the cut-out side face up and sliding the table leg screw through. Screw the leg into the adapter. Turn the table over and set upright.
Step 9
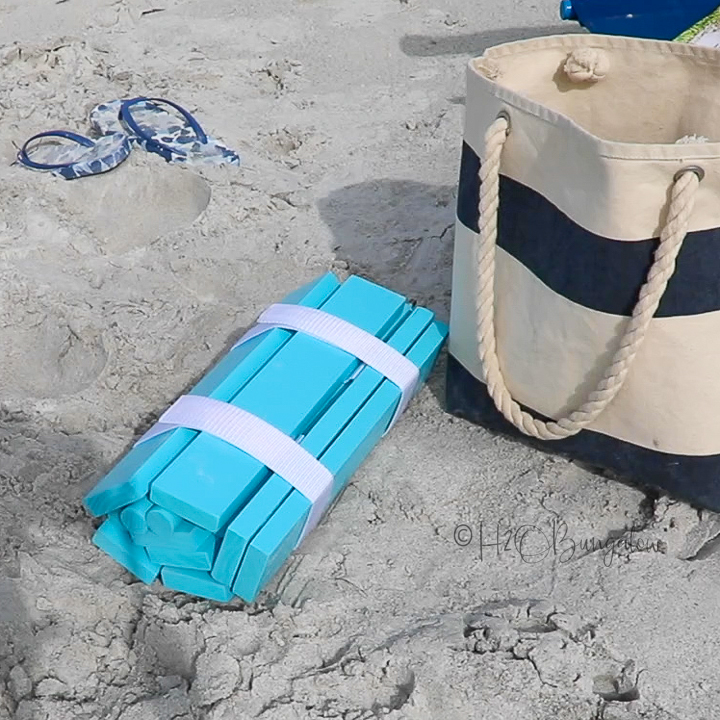
Pack up the portable table by unscrewing the legs and removing the support slats. Place the loose slats and the legs lengthwise along the top and roll up. Secure with an additional netting holder or tie.
Looking for more DIY projects to use your favorite HomeRight products on? You’ll find lots of different types of home decor and home improvement project tutorials using HomeRight paint sprayers and products on my blog at H2OBungalow.com.
Download project steps & shopping list
We'll never share your email with anyone else.